
If your idea of cleaning your Roomba’s dust bin is dumping the dirt and debris into the trash and then slapping the bin back into your vac, you’re doing it wrong.
It’s easy to ignore, but there’s a filter inside the removable dust bin, and if you’re not cleaning the filter regularly—and replacing it once in a while—your Roomba will get less and less efficient as it sweeps your floors (and this is true even if your Roomba has a self-emptying bin).
You also need to clean the bin itself, as well as clean the sensors that tell your Roomba when its bin is full.
If you haven’t been taking care of your Roomba’s dust bin and its filter, it’s never too late to start.
How to clean a Roomba’s dust bin
The procedure for cleaning your Roomba’s dust bin differs depending on which model you have.
We’ll cover the basics of Roomba bin cleaning, as well as describe the quirks of the most popular models; the filter in 600-series Roombas, for instance, is found in a different spot than the filter for “e,” “i,” and “j”-series Roombas.
Remove the bin and empty it
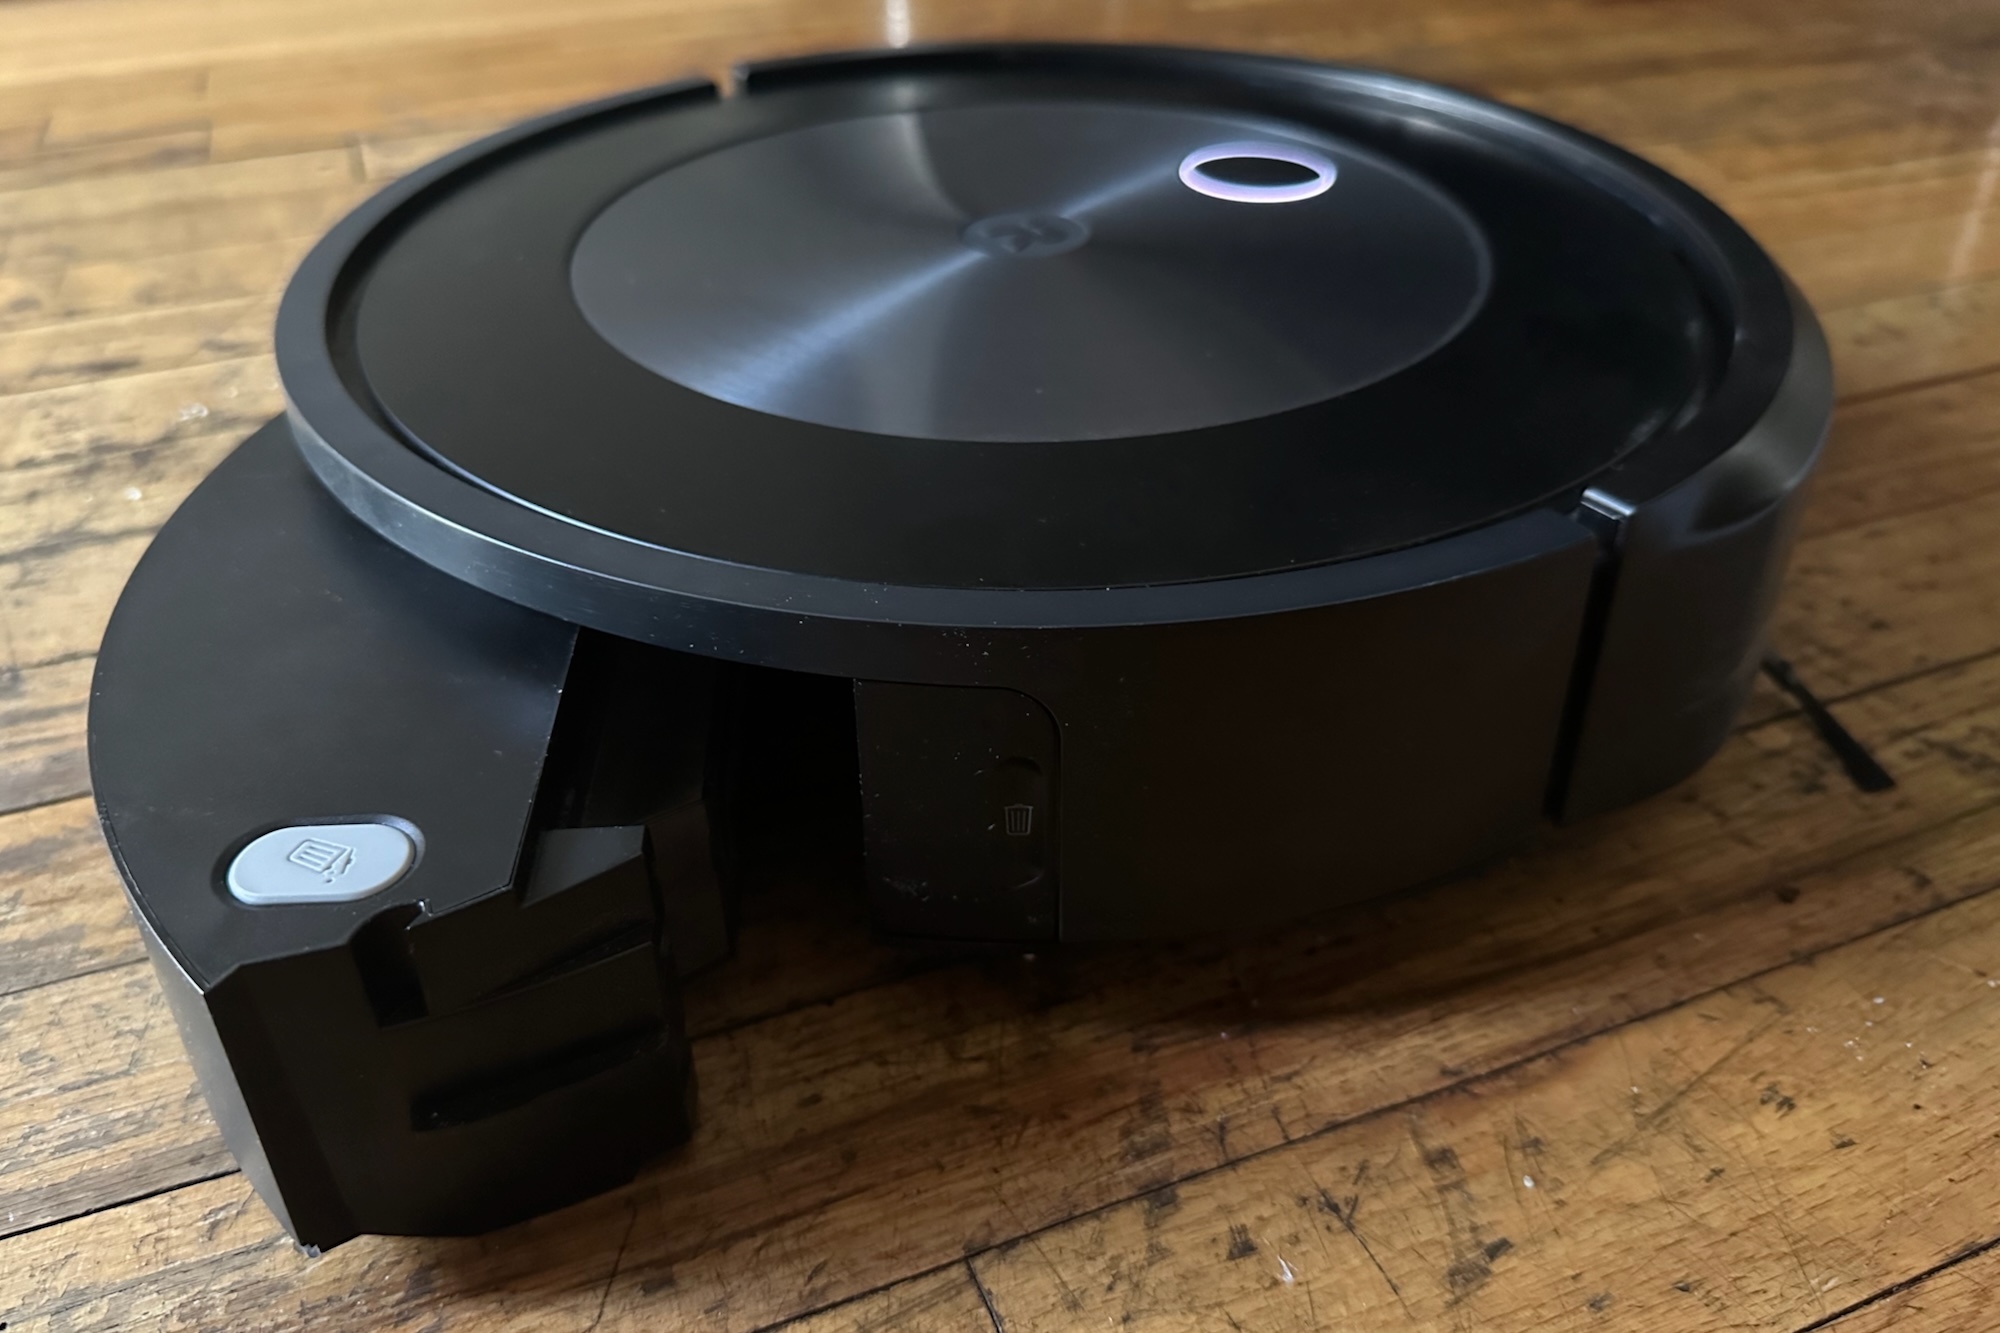
You’re probably already familiar with the first step of cleaning a Roomba’s dust bin: pressing the release button to slide the bin out of your Roomba.
On older 600-series Roombas, the release button for the dust bin is located on top of the unit; for newer Roombas, it’s on the side.
Next, you’ll need to open the dust bin door, and the method varies by model. If you own a 600-series Roomba, for example, you’ll need to press the yellow lever; for newer “e,” “i,” and “j” series models, you press the gray button at the top of the bin.
Ben Patterson/Foundry
Ben Patterson/Foundry
Ben Patterson/Foundry
If there’s debris in the bin from a prior cleaning (I must admit, I only empty the bin just before a cleaning, not immediately after one), go ahead and empty the bin into the trash; you may want to tap the bin on the edge of the can to dislodge any stubborn bits of junk.

Just press the yellow level to release the bin door on a 600 series Roomba.
Just press the yellow level to release the bin door on a 600 series Roomba.
Just press the yellow level to release the bin door on a 600 series Roomba.
Remove the filter
Next, it’s time to clean your Roomba’s dust filter, which (as you’ll recall) is located in different positions depending on your Roomba model.
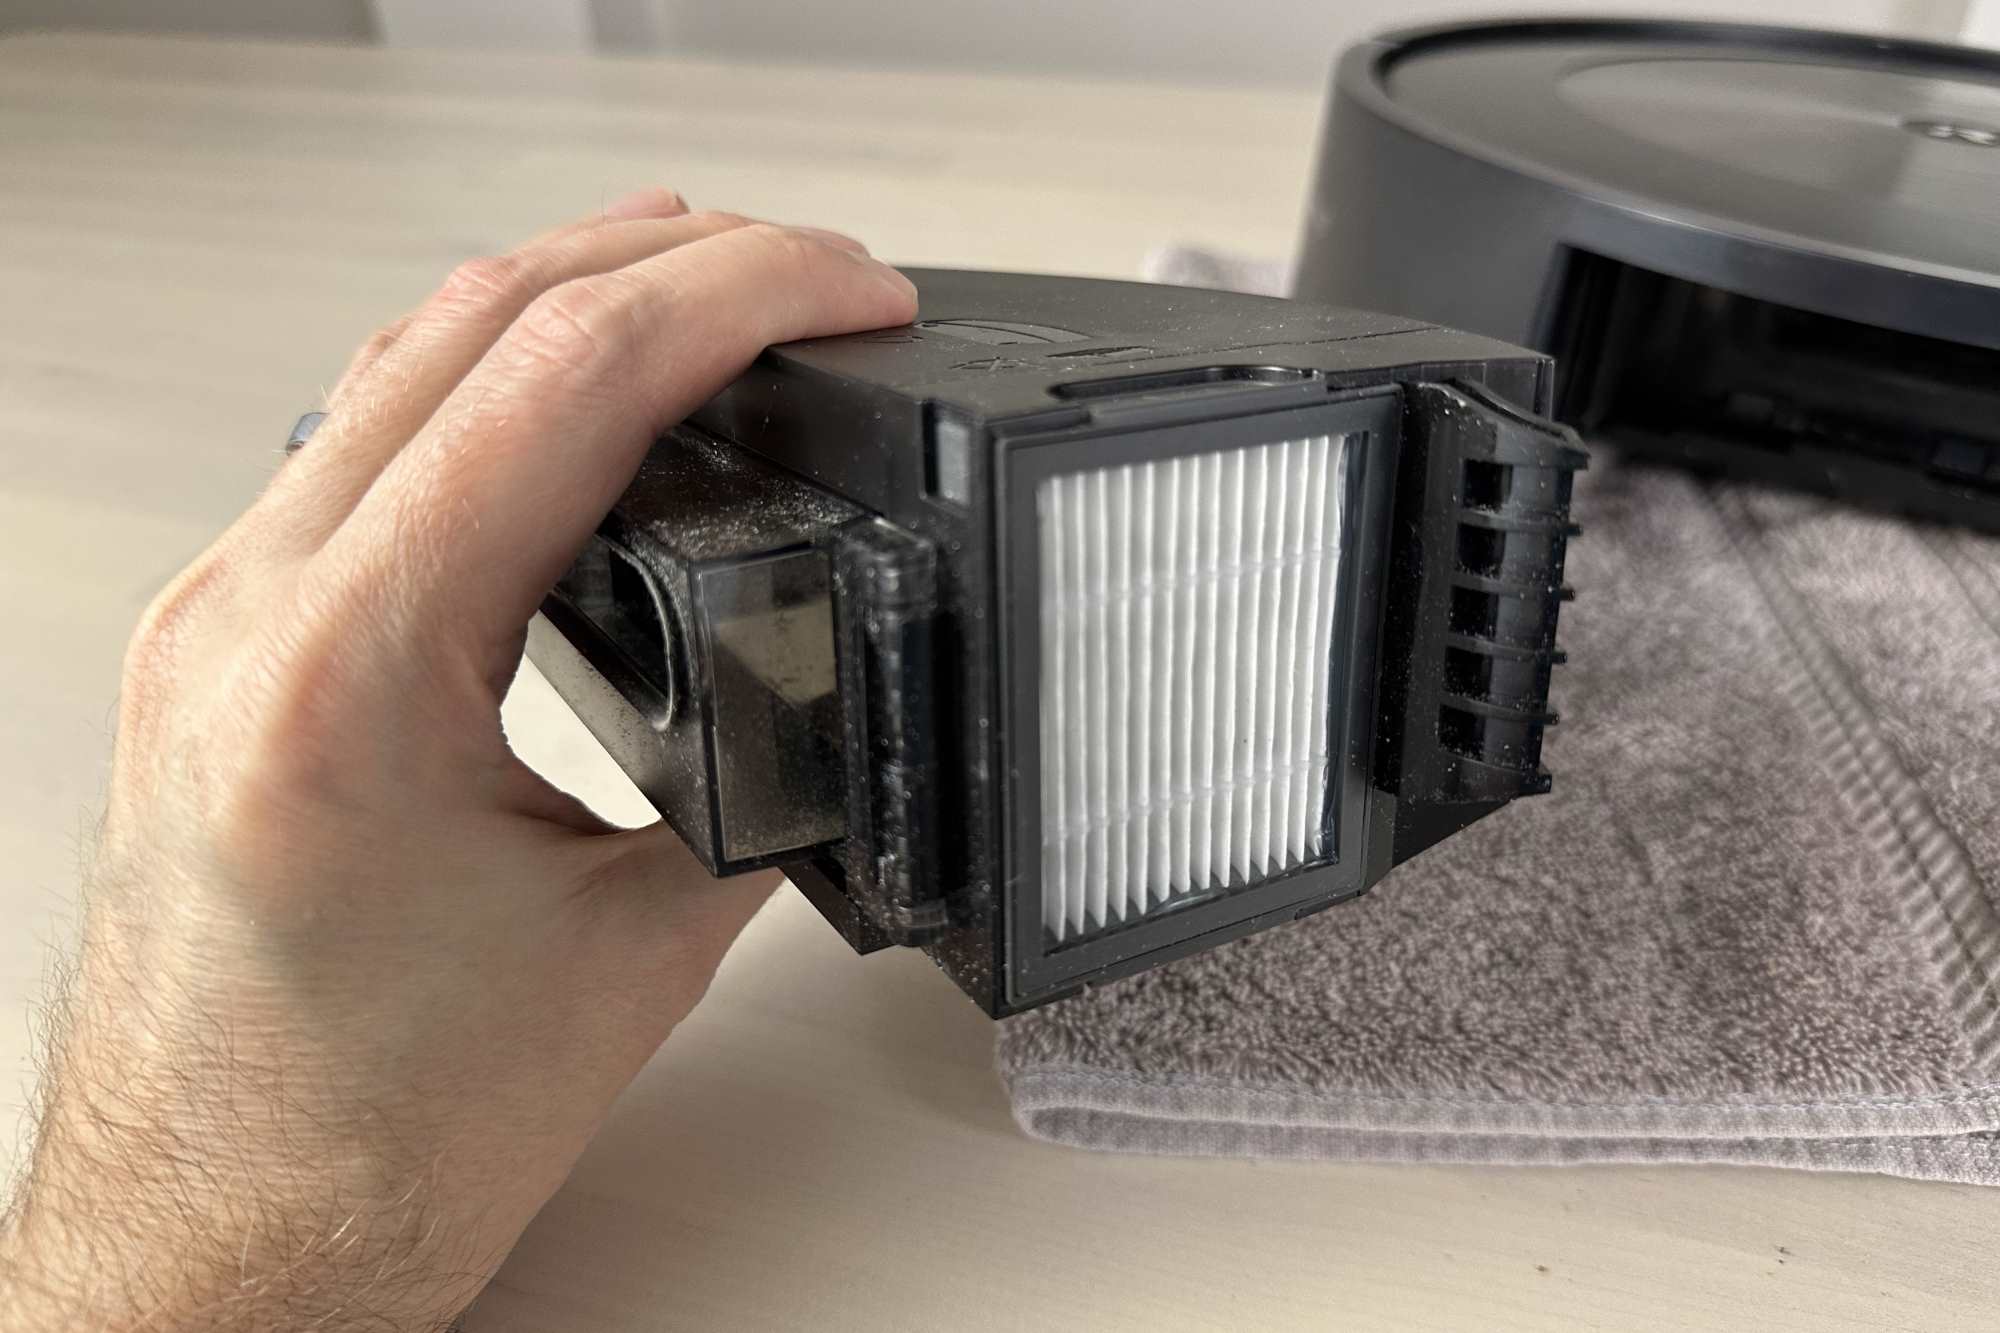
For the popular 600 series, there’s a curved filter that sits in the bin itself, while 800- and 900-series Roombas have a rectangular filter cartridge that fits into the top of the bin. “E,” “i,” and “j” series Roombas also have a filter cartridge, but it’s located on the side of the bin.

The dust filter for series “e,” “i,” and “j” Roombas is located on the side of the dust bin.
The dust filter for series “e,” “i,” and “j” Roombas is located on the side of the dust bin.
Ben Patterson/Foundry
The dust filter for series “e,” “i,” and “j” Roombas is located on the side of the dust bin.
Ben Patterson/Foundry
Ben Patterson/Foundry
To remove the filter on most newer Roombas, just pinch the indented grips on the top and bottom and pull it out of the assembly.
If you have a 600-series Roomba, open the bin and look for the big blue filter, which is probably covered in dust.

To remove the bin filter on a 600 series Roomba, squeeze the yellow tabs on either side of the filter and slide it out.
To remove the bin filter on a 600 series Roomba, squeeze the yellow tabs on either side of the filter and slide it out.
To remove the bin filter on a 600 series Roomba, squeeze the yellow tabs on either side of the filter and slide it out.
With your fingers, grip the two yellow tabs on either side of the filter, squeeze, and pull the filter out.
Clean the filter
Now it’s time to get all the accumulated dust and dirt off the filter. One method is to knock the dust off by repeatedly tapping the filter against the inside of a garbage can, or you could try scraping the dust off with a dry cloth or paper towel.

Ah, much better.
Ah, much better.
Ah, much better.
Vacuuming the filter with a hand vac can also do the trick.
One thing you don’t want to do is clean the filter with water; that’s a sure-fire way to ruin it.
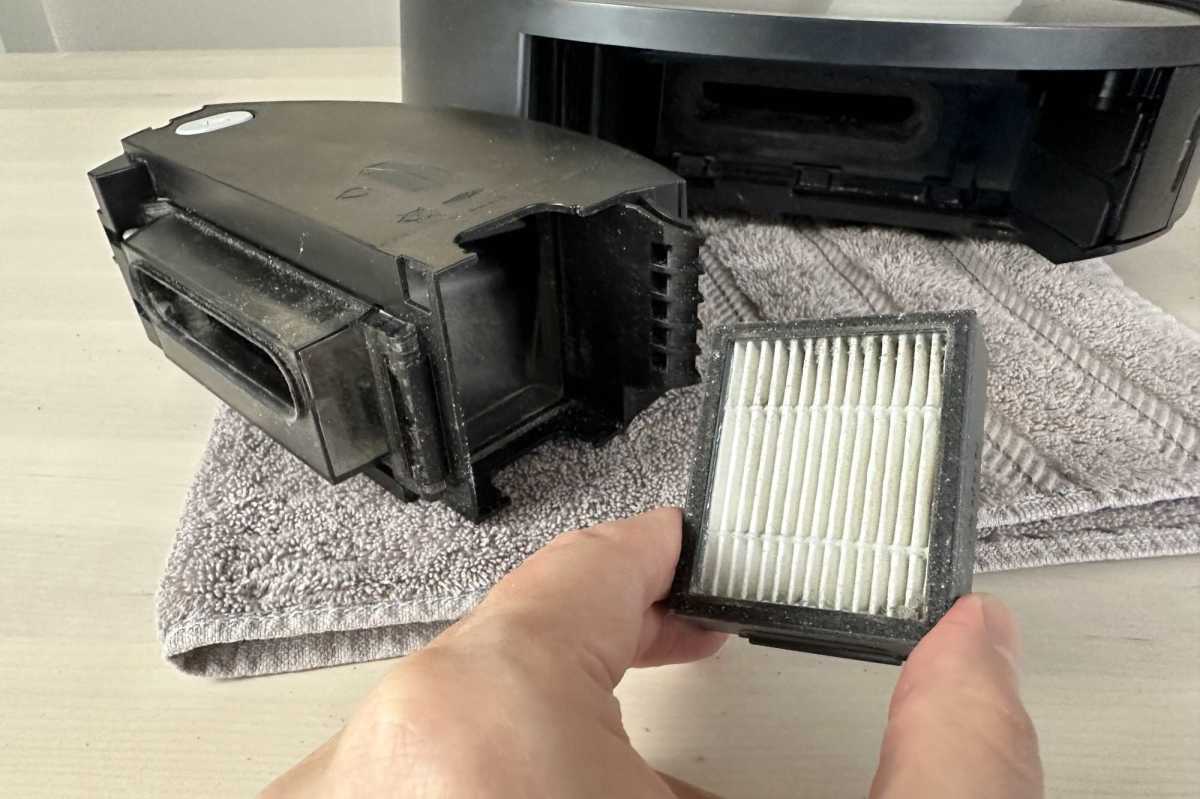
Once you’ve removed the dust filter for a newer Roomba, you can tap it on the insde of a garbage can or use a hand vacuum to clean off the excess debris.

Once you’ve removed the dust filter for a newer Roomba, you can tap it on the insde of a garbage can or use a hand vacuum to clean off the excess debris.
Ben Patterson/Foundry
Once you’ve removed the dust filter for a newer Roomba, you can tap it on the insde of a garbage can or use a hand vacuum to clean off the excess debris.
Ben Patterson/Foundry
Ben Patterson/Foundry
Clean the bin-full sensors
Your Roomba has infrared sensors that can detect when the dust bin is full. If those sensors get too filthy, they could lead to false “bin is full!” errors.
By periodically wiping the full-bin sensors clean using a dry cloth, you can keep those “dust bin” false alarms at bay.
Here is how to locate and clean the full-bin sensors on a Roomba, as well as how to clear out any blockages from the opening leading into the dust bin.
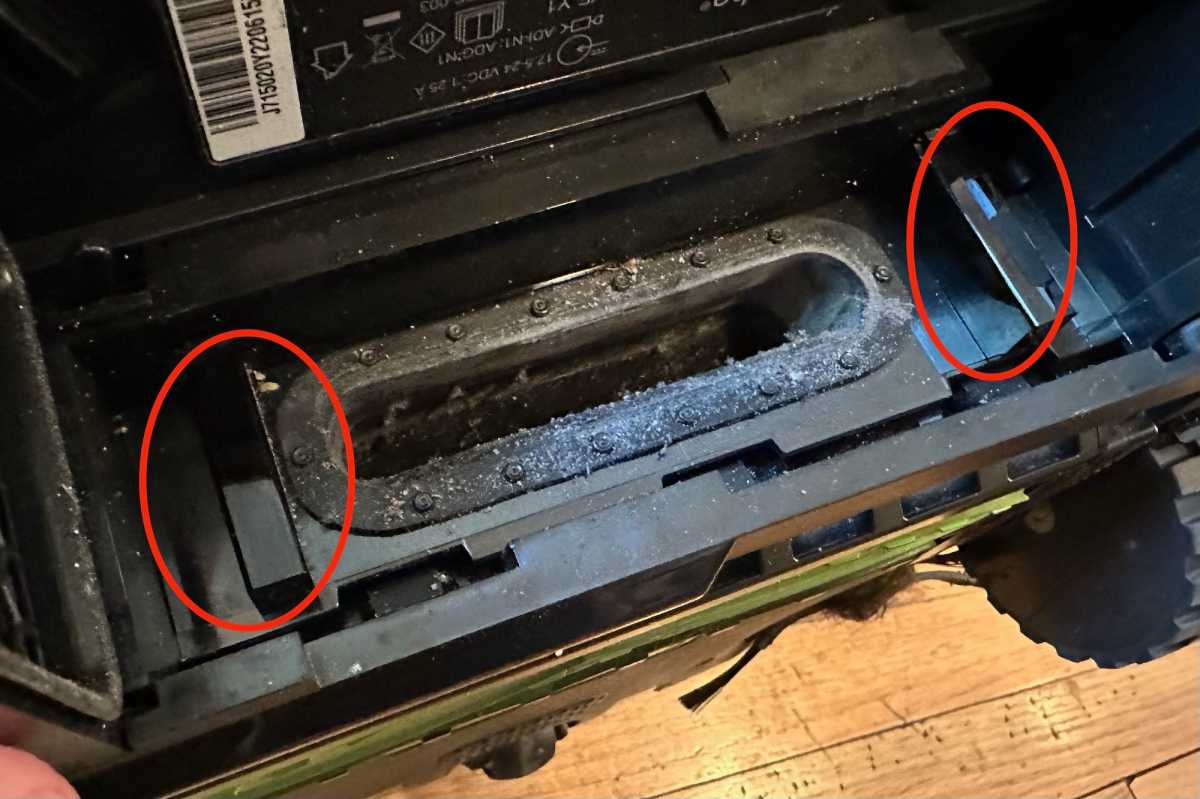
Make sure your Roomba’s full-bin sensors are clean (pictured here are the sensors for the Roomba j7).

Make sure your Roomba’s full-bin sensors are clean (pictured here are the sensors for the Roomba j7).
Ben Patterson/Foundry
Make sure your Roomba’s full-bin sensors are clean (pictured here are the sensors for the Roomba j7).
Ben Patterson/Foundry
Ben Patterson/Foundry
Rinse the bin
If the bin itself is really dirty, you can clean it by giving it a light rinse in warm water (remember to remove the filter first).
Once you’re done rinsing, wipe any moisture off the bin and consider leaving it out overnight to dry. Once thing you don’t want to do is replace a rinsed dust bin while it’s still wet.

Slide the clean filter back into your Roomba’s bin, and you’re done—well, until next time, anyway.
Slide the clean filter back into your Roomba’s bin, and you’re done—well, until next time, anyway.
Slide the clean filter back into your Roomba’s bin, and you’re done—well, until next time, anyway.
How often should you clean your Roomba’s filter?
To keep your Roomba running efficiently, you’ll need to clean its filter on a regular basis. iRobot recommends a good filter cleaning once a week, or twice a week if you have pets with hair.
If, like me, you’re only running your Roomba once a week, you could probably get away with cleaning the filter once every couple of weeks.
How often should you replace your Roomba’s filter?
Just like vacuum bags, Roomba filters need to be replaced every so often. For its part, iRobot says you should replace the filter once every two months. If you have a Wi-Fi-enabled Roomba, the iRobot app will remind you when it’s time to replace the filter, as well as your Roomba’s other parts.
iRobot sells packages of replacement Roomba parts; for example, a replacement kit for “i” and “j” series Roombas that includes three dust filters, three side brushes, and two roller brushes sells for a hefty $69.99.
You can also buy Roomba replacement parts from third parties that are far cheaper than “authentic” parts from iRoomba, but be sure to scrutinize the customer reviews before clicking the “buy” button.
How to clean the rest of your Roomba
Cleaning your Roomba’s filter is just the first step, and we have plenty of Roomba cleaning how-tos that can help.
For starters, learn how to untangle the hair from your Roomba’s brushes. Next, get the scoop on polishing its charging contacts and wiping down its cliff sensors.
Finally, here’s how to clean your Roomba’s wheels.