Audio recording is simple in Windows 10. All you need is a microphone and software to capture the input.
You don’t have to spend money on a sound recording program, however. Good paid programs exist, of course, but you can do well with free offerings. That’s especially so if you plan to do very little in the way of editing.
Not all sound recording programs have the same level of features, so we’ve highlighted two that suit both basic and more advanced needs. You’re covered if straightforward is what you want, and also if you require greater control over inputs and edits. And both picks cost absolutely nothing to use.
Voice Recorder
 PCWorld
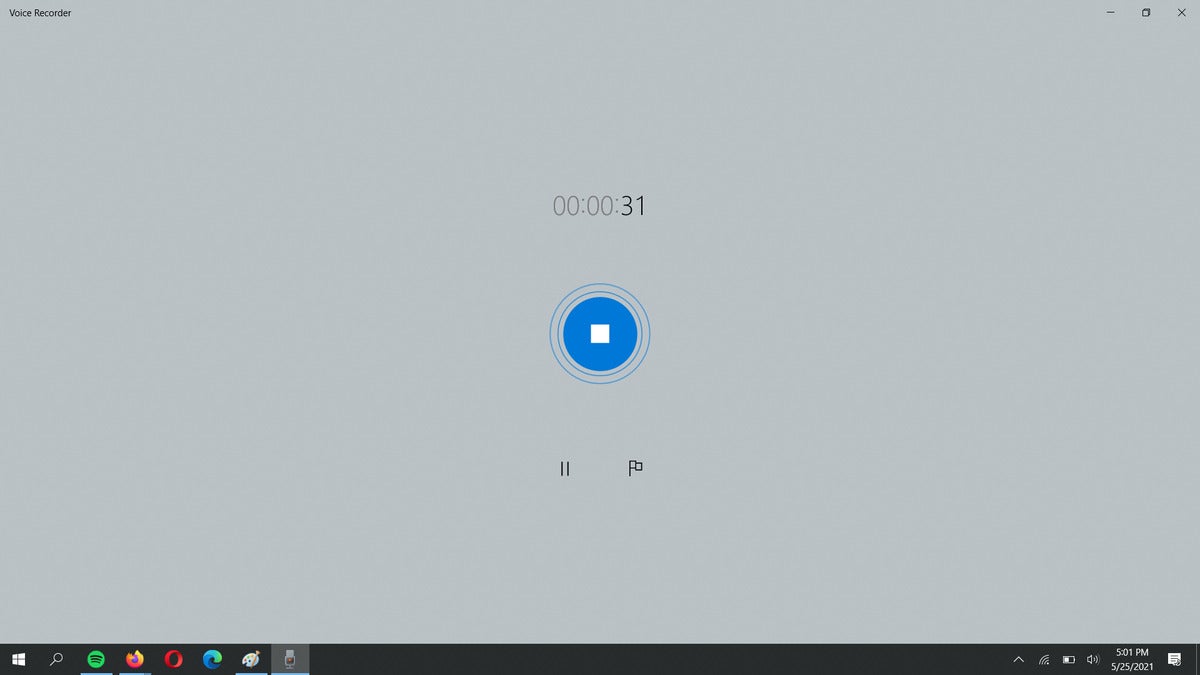
Recording in Voice Recorder is dead simple.
This dead-easy-to-use sound recording program comes included with Windows 10, so you can jump into it straightaway. To begin, tap the Windows key (or right-click on the Start button), type voice or recorder to bring up Voice Recorder as a search result, and hit enter.
Starting a recording is as simple as clicking on the large blue microphone icon in the left-hand part of the window. The screen will change to show buttons for stopping, pausing, and marking specific moments within the recording, as well as a counter that shows how long you’ve been recording. When you’re done, click on the blue stop button in the middle of the screen.
In the main window, you’ll see a list of recorded clips. You can also select files for playback, trimming, and renaming. If you’re having trouble recording through your microphone, or through the correct microphone, go into Win10’s Sound settings (Windows key, then type sound settings.) Under Input, verify that the microphone in use is set as the active device.
Files recorded in Voice Recorder are immediately accessible as .m4a files, which most modern devices can play through their default apps.
Audacity
 PCWorld
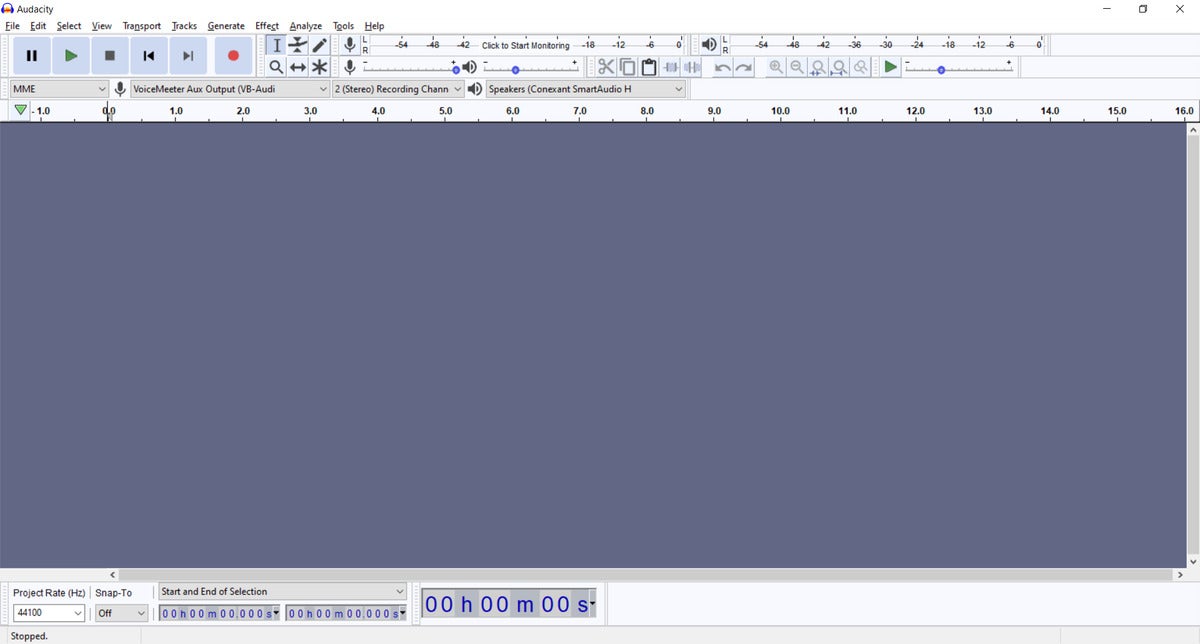
Audacity might lack a sleek, modern look, but it has plenty of features to make up for its plain user interface.
Audacity may not look like much, but this well-known free audio recording program’s sophistication lies in its feature set.
To record, simply open Audacity after installation and hit the red recording button. Audacity makes the most important basic controls obvious and available in this main window: You can start, stop, and pause recordings as needed, easily change which microphone you’re using as an input device, and switch up the output device for listening to playback. Basic editing tools are available here on this screen too.
Audacity’s real benefit is its ability to accommodate more complicated recording setups, like multiple tracks and/or multiple input devices, as well as more intricate edits and adjustments. (Example: Increasing input levels because the mic’s output isn’t strong enough.) Learning the ins and outs of Audacity can take some time, but that time invested will make it easier to get the most out of your recordings.
You can also export your clips in a wide variety of common file types, which is beneficial to even basic users. Be aware that unlike Voice Recorder, Audacity doesn’t immediately save recordings as playable audio files. Instead, it saves whatever you’ve recorded as a project file, and you must export via File > Export to an audio format like .mp3 or .wav for other devices or programs to be able to play back the file.
For more detailed information on how to dive into Audacity’s wealth of features, check out our Audacity primer.
Recording tips
For higher-quality recordings, keep these tips in mind:
- Record in a spot free of background noise and echo. As odd as it sounds, the inside of a closet full of clothes works remarkably well.
- Stay closer to your mic—moving too far away from it can cause the recording to sound hollow.
- Hardware does play a role in sound quality, so if you have some spare cash, upgrading to one of our best USB microphone picks from a laptop, webcam, or headset mic will let your voice shine.

