
We may earn a commission if you make a purchase from the links on this page.
The iPad is a powerful tablet that is yet to be outmatched. In recent years, students and even professionals have begun using iPads as their main computers. But unlike on a conventional computer, doing certain things on Apple‘s iPad is much easier and straightforward.
Taking a screenshot is one of those things. Here is how to quickly and easily take a screenshot on iPad and even edit it.
You may also find interesting:
Press the power button and the volume up button at the same time to take a screenshot
When you wish to take a screenshot of whatever’s on your iPad screen, simply press the iPad’s power button and volume up button at the same time, then quickly release them. This works on all newer iPad Pro models, as well as the 2020 iPad Air.

If you’re rocking a recent iPad Pro or the 2020 iPad Air, press its power and volume up keys together to take a screenshot
, if you’re using the budget 2020 iPad or any other model that has a circular Home button, press it and the power button at the same, to take a screenshot.
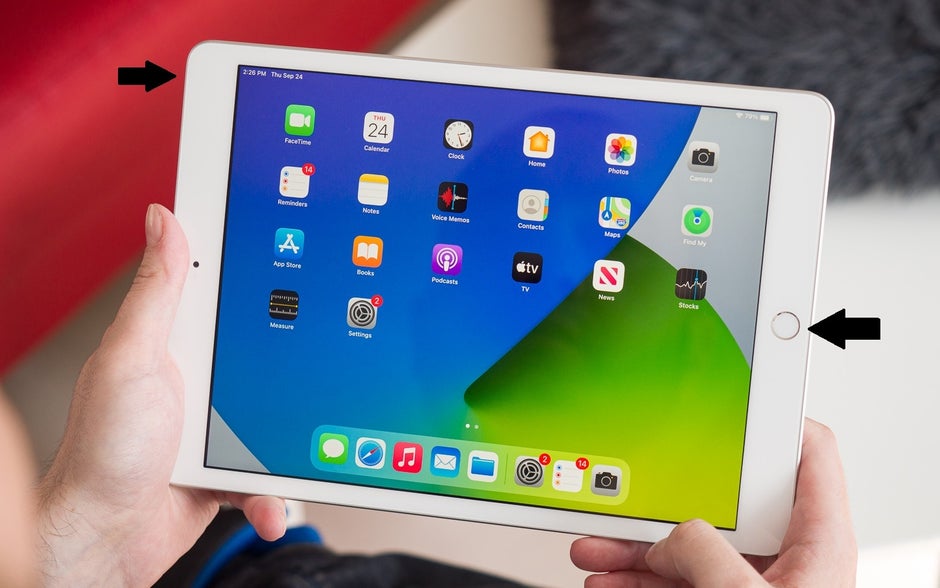
If you’re using an older iPad or one of the budget models that have a circular Home key, press it and the power key together to take a screenshot
Once you’ve quickly pressed and released both buttons the iPad’s screen will flash, signifying that a screenshot was taken. Following that, the screenshot you just took will appear in a popup window on the bottom left corner of the screen, staying there for a few seconds.
Tap the popup window to edit the screenshot
You can tap the screenshot popup while it’s still in the bottom left corner of the screen, in order to edit it. Use your finger or an Apple Pencil to draw over the screenshot with the variety of markers at your disposal.
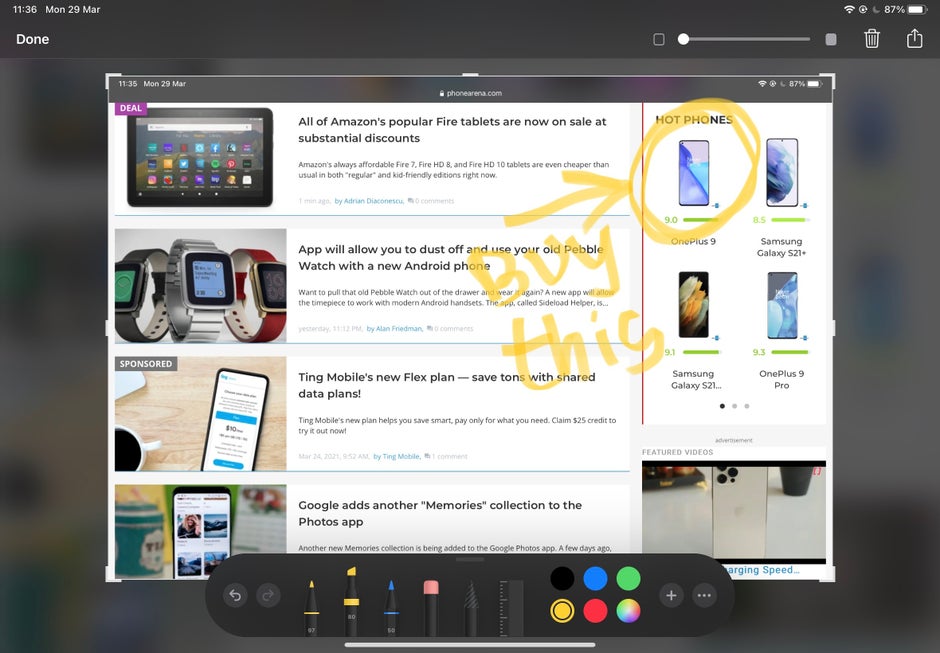
Editing your screenshot is simple and straightforward