Spend enough time around PC builders and PC building forums, and you’ll learn pretty quickly that the direction of a case or CPU cooler fan matters. When a fan’s positioned for intake, the intent is to pull in cool air. But when a fan is set as an exhaust fan, the idea is to expel warm air away from the case or cooler. Both options are useful depending on where the fan resides in the build.
So how do you tell at a glance which way the fan is blowing, especially when even seasoned PC builders sometimes take a moment to think about it? It’s pretty simple, even if your fan’s manufacturer doesn’t make it explicitly clear.
Look for the arrow
Some fans have a small arrow on the casing that indicate the direction of airflow. Whichever way the arrow points, that’s the side that air will blow toward.
(Yep, it’s that easy.)
Look at the fan blades
Not all fans have an arrow—or perhaps you’re trying to evaluate a fan that’s installed in a case or on a CPU cooler and you don’t want to unmount it to look for an arrow. Fortunately, you don’t need the arrow to tell you the direction of airflow. Instead, simply look at the fan blades.
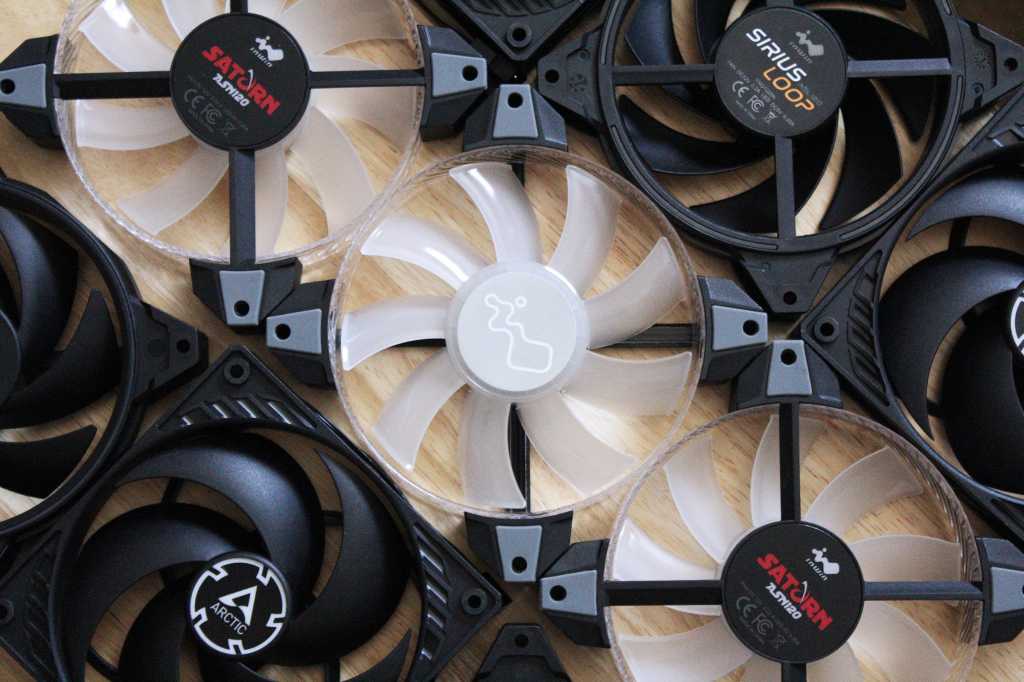
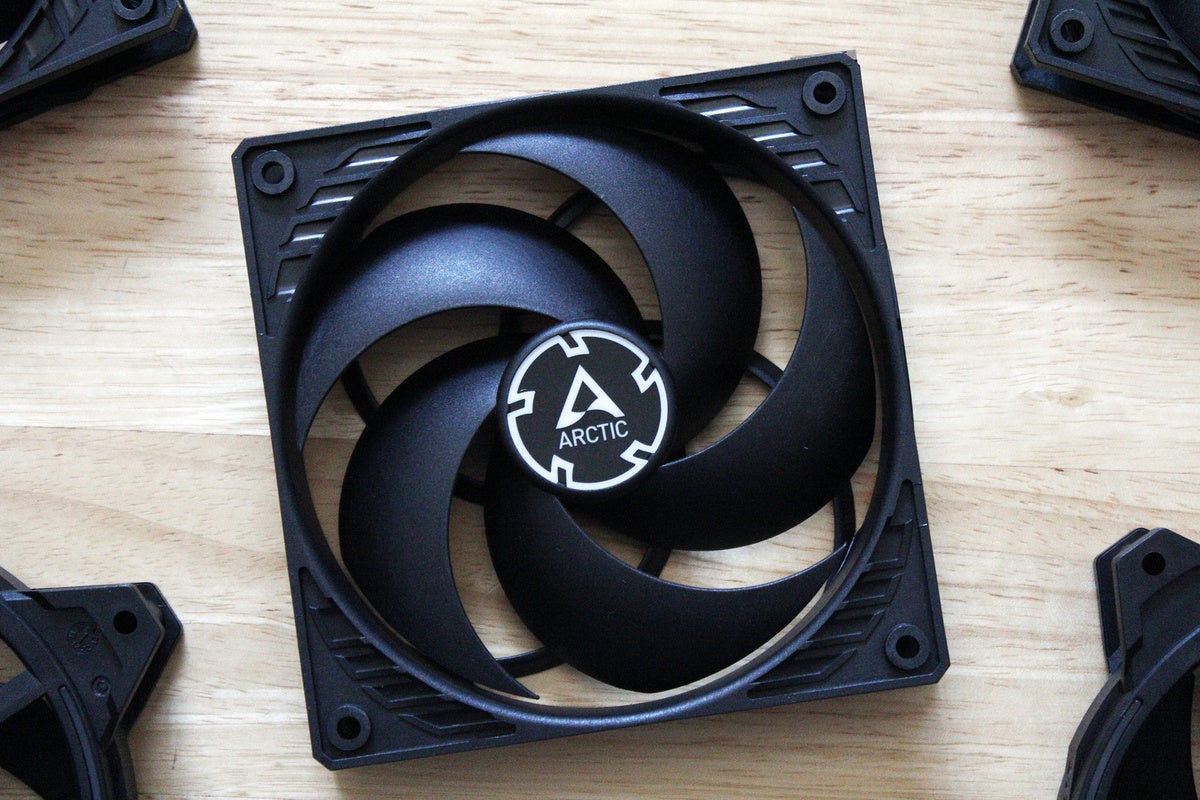
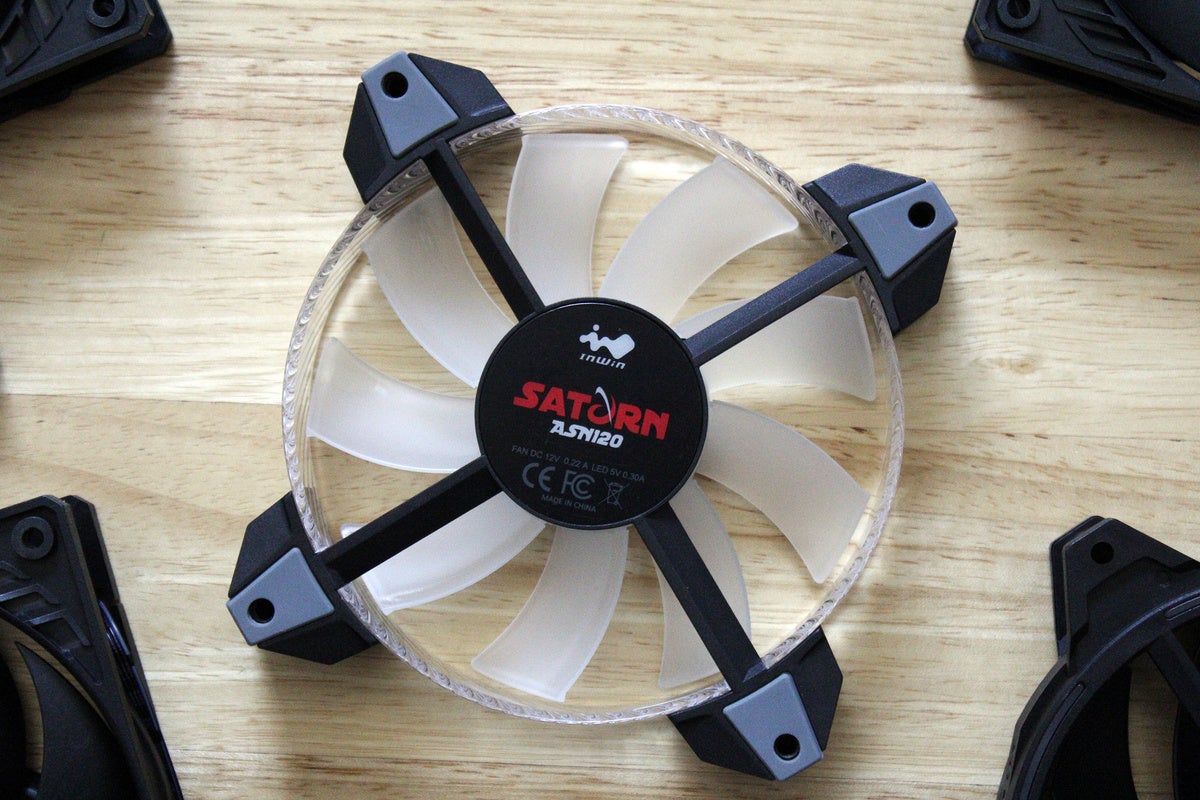
If the fan blades look rounded—that is, they’re curving away from you—that’s the intake side. (For the more technical out there: The convex side of the fan blades is the intake side.)
If the fan blades look like the inside of a dish or bowl—that is, they’re curving toward you—that’s the exhaust side. (In other words, the concave side is where air exhausts.) Oftentimes, the exhaust side also has the crosshatch supports for the fan’s frame, with a circular sticker in the center that lists brand and model information.
If possible, memorizing the fan blade shapes is the best method to determine fan direction—you can tell immediately which way the fan is blowing.
Why this matters
As touched on above, the direction of a fan matters for airflow. Knowing the way it points will determine the best places to mount it, especially for a case. It also ensures you set up the correct airflow configuration for your purposes.
Most PCs use positive pressure to get enough cool air passing through the system, which means you need more fans set as intake than as exhaust. In select situations, a builder might instead choose a negative pressure setup, where you’ll need more fans shooting air out of the case than pulling in. Both ensure that your machine isn’t cooking in the hot air generated by its components. But if you aren’t paying attention to the fans as you install them (or how the case came preconfigured), you could end up with a different configuration than intended. Read our guides on how to install fans and how to configure fans for positive or negative pressure setups to get the full details on optimizing your PC’s cooling.
What fan should you use?
A cheap fan will move air. So will an expensive one. The difference between them is how loud they get and how efficiently they move air. Also, how pretty they look.
That’s not to say you shouldn’t ever spend money on fans. You can better optimize the cooling in your case with the type of fan you choose (airflow vs. static pressure). Quieter fans (either more efficient or larger, or both) are easier to listen to when their speed kicks up. And if you’re putting together a fancier PC, the fan’s materials (and lighting options) can enhance your project’s appearance.
If you’d like to replace your stock fans, or add some to your build, you can try one of the recommendations below. They’re all well-regarded in the PC building community, and the PCWorld staff has built with all of them more than once. Of course, our list isn’t exhaustive—other fantastic options exist as well. But these suggestions are a good starting point.
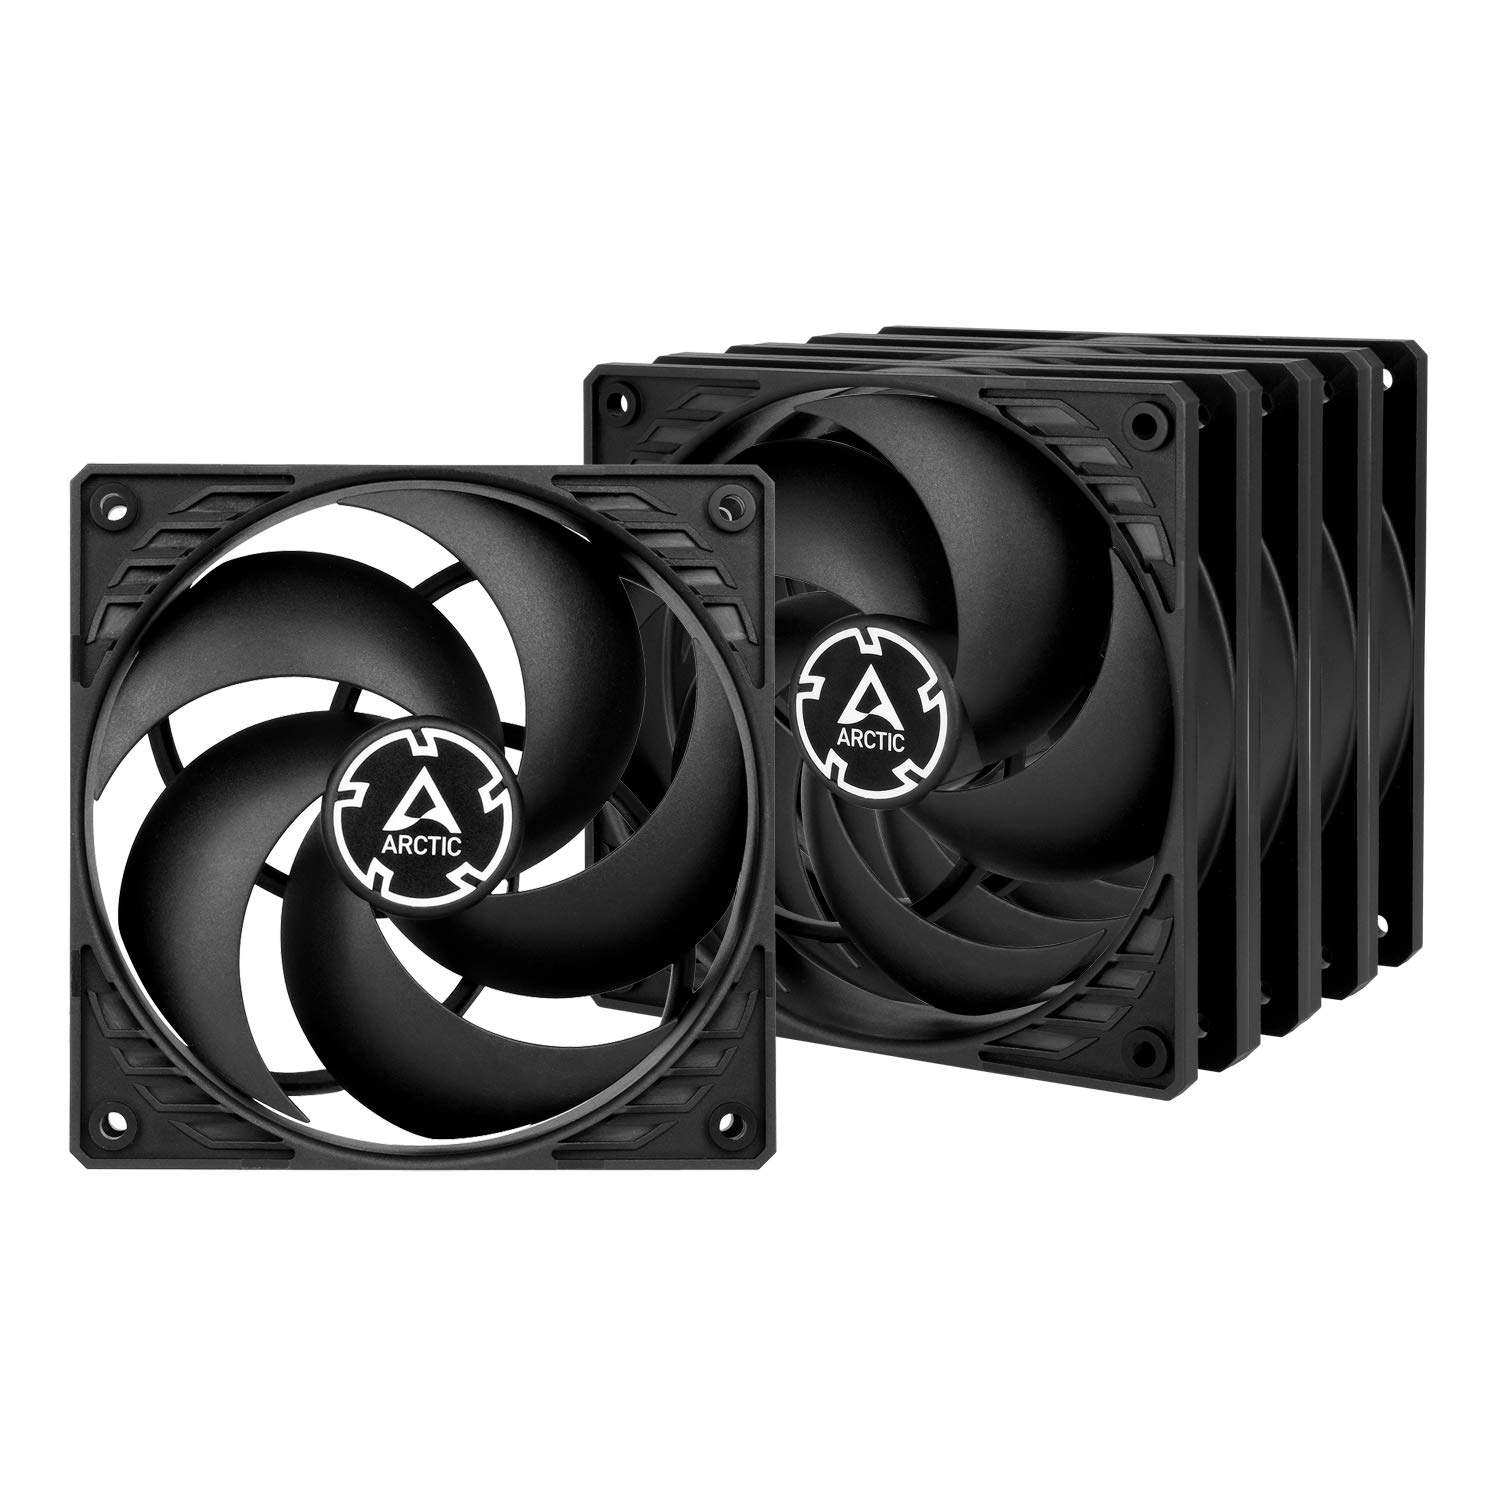
Arctic P12 PWM 120mm fan (5 pack)
Price When Reviewed:
$31.99
These perennial favorites move air well, are relatively quiet, and come in a pack of five for about $30 to $35. You’ll pay only $6 to $7 per fan, making them an excellent buy given their solid performance. (Plus, if you need a bigger size, they come in 140mm, too!) Their only downside is a lighter, less premium frame—but if you’re building a more expensive PC where materials and looks matter, you probably aren’t trying to purchase in bulk anyway.
be quiet! Pure Wings 2 120mm PWM (BL039) Cooling Fan
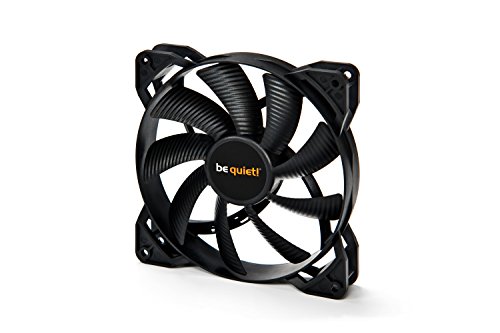
Can’t afford Noctua, but want a solid performer with a quieter, more pleasing sound profile? These fans from be quiet! strike a great balance between higher performance, solid build quality, and affordability. And they’re much cheaper than Noctua’s black fans, which cost more than the company’s usual brown ones. (A 140mm variant is also available.)
Noctua NF-A12x25 120mm fan
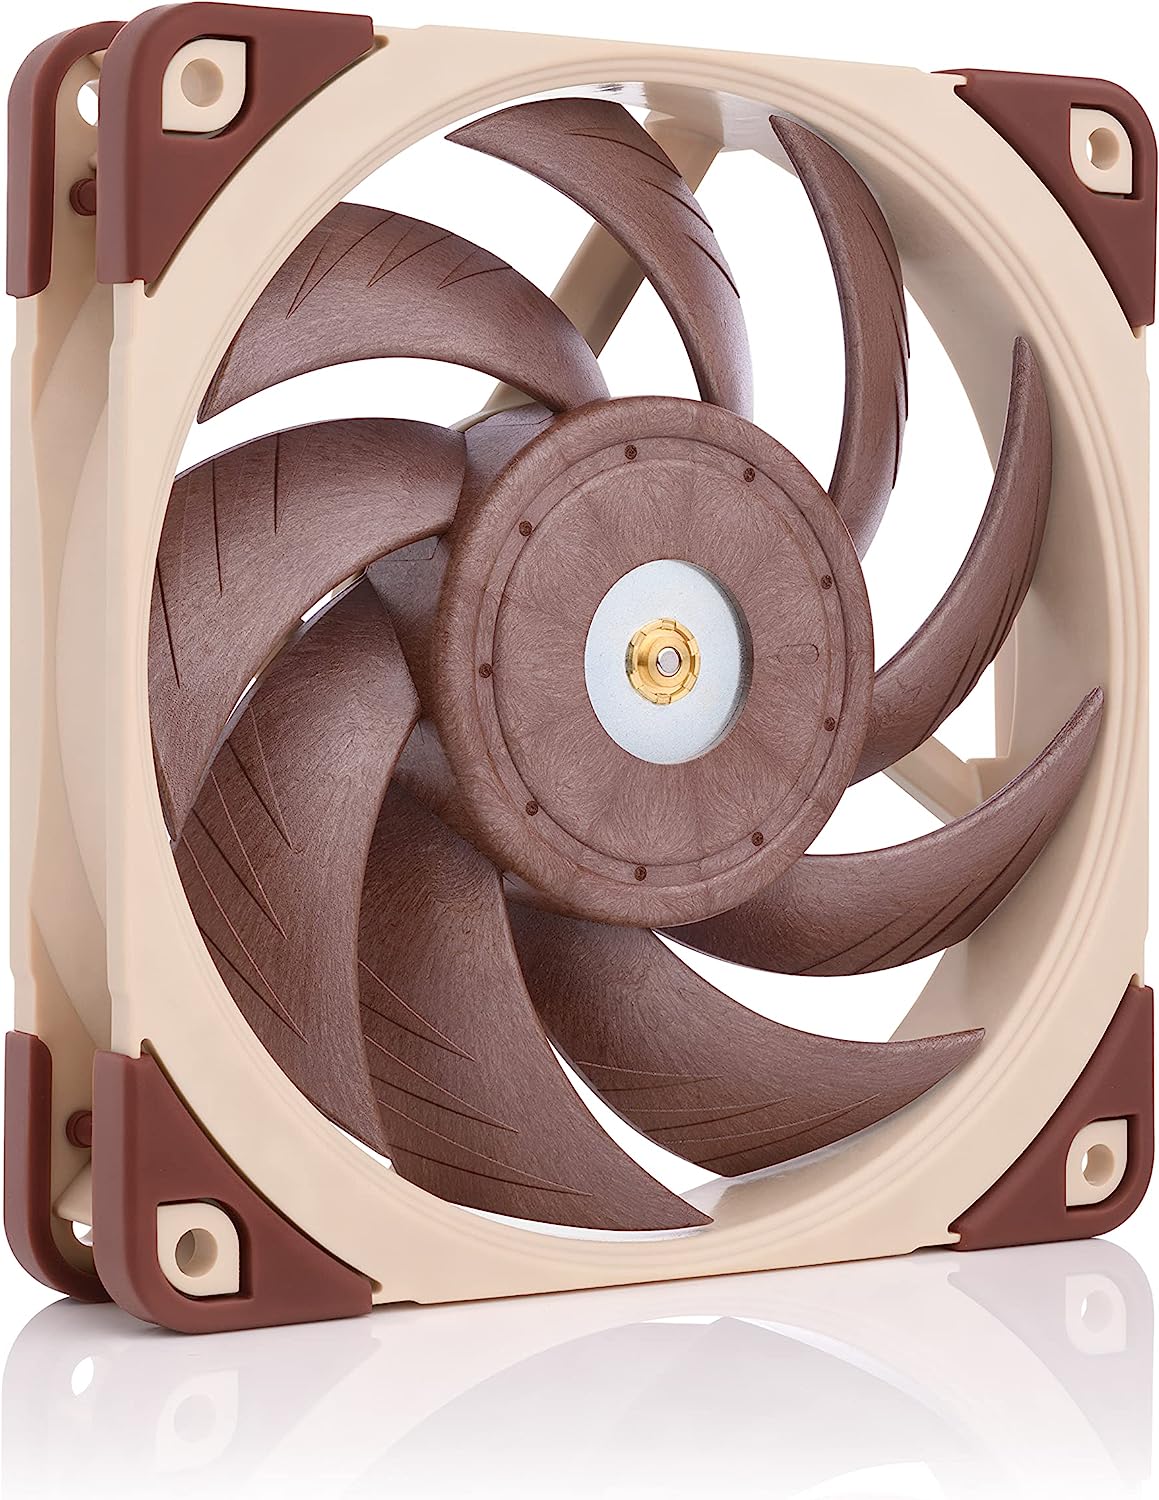
At $35 each, these fans cost a pretty penny, but they’re still wildly popular due to high performance and relative quiet. If you’re not into the company’s signature tan-and-brown colors, you can look into their Chromax line, which offers a more standard black. If you want a different size of fan, or one better geared toward static pressure, Noctua makes those, too—in fact, its array of options can be downright dizzying—but these are recommended as the best all-purpose option.
Lian Li UNI Fan V2 SL120
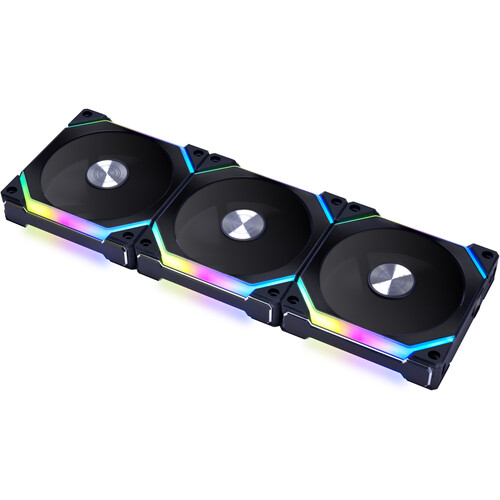
Other RGB fans may have bolder lighting, but few can beat the sheer ease of building with these Lian Li fans. Normally, using more than a couple of RGB fans creates an unholy tangle of cables. These fans daisy-chain together in the cleanest way possible—you physically link them together, then connect just one of the fans to a controller or your motherboard. We’re fans of the more subtle, elegant light effects of these fans, but since the first iteration launched in 2020, other variants have become available too. Static pressure optimized, airflow optimized, RGB optimized: You want it, you got it.
Editor’s note: This article was updated on 6/28/2023 to include fan recommendations.

