Firstly, the good news: If you have Windows 10 installed on your PC, you can upgrade to Windows 11 24H2 (the latest version of Windows 11) free of charge. This makes sense, as support for Windows 10 will end on October 14, 2025. After that date, the operating system will still work, but Microsoft will stop releasing security updates.
If the direct update doesn’t appear in Windows 10, you can also download the new version directly from Microsoft. There, you’ll find the installation files for Windows 11, which can be used to create a bootable USB stick. Even if you don’t plan to update right away, it’s a good idea to create such a USB stick so you can upgrade to the latest version whenever you’re ready.
It’s also recommended to retrieve your Windows 10 serial number/product key in advance, so you have it on hand when installing or updating to Windows 11.
Who’s eligible for a free upgrade to Windows 11?
Microsoft will continue to allow eligible devices to upgrade from Windows 10 to Windows 11 free of charge. This option remains available as long as the device meets the minimum requirements and the upgrade tools—such as the Windows 11 Installation Assistant or Windows Update—are used. If you use the tools mentioned in this article, you may lose support for Windows 11.
After October 14, 2025, official support for Windows 10 will end. Microsoft will no longer provide free security updates, technical support, or bug fixes for Windows 10. For users who wish to continue using Windows 10, Microsoft offers a paid Extended Security Updates (ESU) program. This program allows private users to receive critical security updates for an additional year, for a fee of 30 US dollars.
Whether users will still be able to upgrade from Windows 10 to Windows 11 after October 14, 2025 depends on future decisions by Microsoft. There is currently no official statement on whether the free upgrade offer will continue beyond this date. Users are therefore encouraged to upgrade before the end of support to take advantage of the current conditions.
It’s important to note that Windows 11 has specific hardware requirements, including TPM 2.0, Secure Boot, and compatible processors from the 8th generation of Intel CPUs or equivalent AMD models. Microsoft has made it clear that these requirements will not be relaxed, and older devices will not be officially supported. While there are unofficial methods for installing Windows 11 on unsupported hardware, these can lead to stability issues and missing updates.
For users with devices that do not meet the requirements, it is recommended to purchase a new PC with Windows 11 pre-installed. Microsoft offers various programs and tools to help make the transition easier.
How to check if your PC can be updated to Windows 11 24H2
Microsoft provides the free PC Integrity Checker app, which you can use to check whether the update is possible on your Windows 10 system. To do this, simply launch the tool and click “Check now.”
If your PC does not (officially) support the update, the PC Integrity Checker app will indicate this and explain the reason. If TPM 2.0 is not activated, you can often enable the security chip required by Windows 11 in the BIOS. If your PC doesn’t have this chip, we’ll show you below how you can still proceed.
In most cases, Windows 11 runs just as stably and quickly on PCs as Windows 10—often even faster and more stable, even without a TPM chip. However, this is not always the case. Running Windows 11 on incompatible hardware is always at your own risk.
Updating Windows 10 to Windows 11 24H2
To update Windows 10 to Windows 11 24H2, open the “Download Windows 11” website. Then click on “Download now” under “Windows 11 Installation Wizard.” If your hardware is compatible with Windows 11, the update will begin without any issues. All apps, settings, and data will be retained.
However, it’s a good idea to back up your computer beforehand. This can be done quickly using the free Microsoft Disk2VHD tool. Be sure to save the backup on an external storage device. The tool creates a virtual hard drive that contains all the data from your existing drive, ensuring that nothing is lost.
Once the Windows 11 installation starts, click “Next” under “Install Windows 11.”
The installation wizard will then check for updates and, in some cases, restart. This process may take a few minutes. After you confirm the license terms, the update check often runs again. This continues until the installation wizard is fully up to date. Naturally, these steps only work if the PC is connected to the Internet.
It’s important to ensure that “Keep personal data and apps” is selected in the “Ready for installation” window. If it isn’t, you can change this by clicking on “Change the items to keep.”
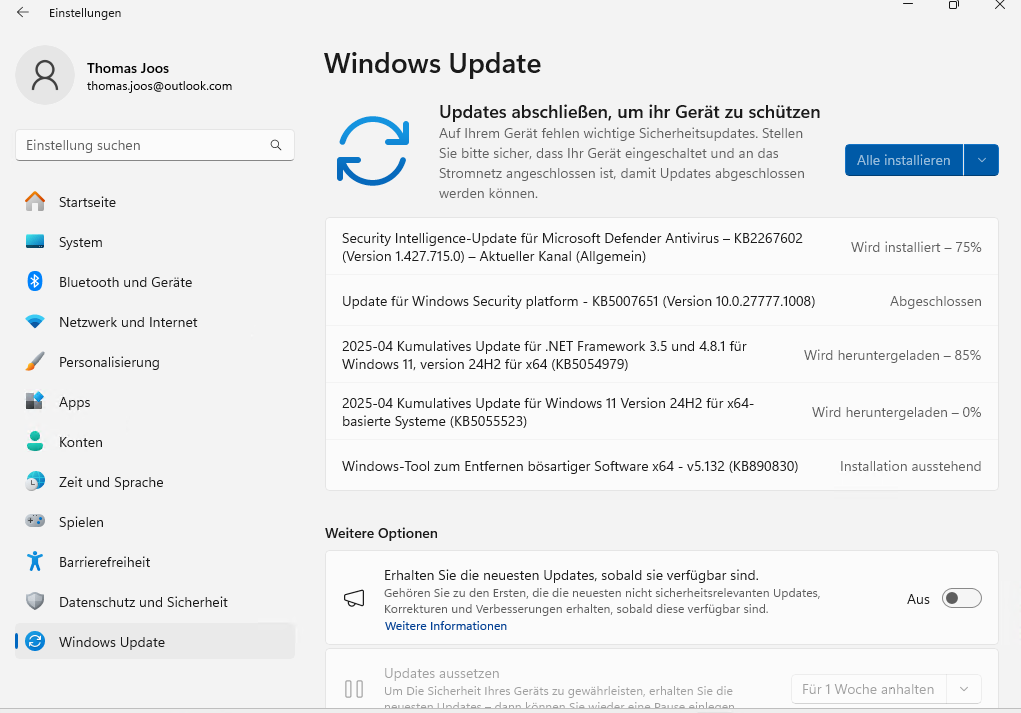
Then click “Install” to begin the update. After upgrading to Windows 11 24H2, you should still install the latest updates through the Windows settings under “Windows Update.”
Thomas Joos
Once this is completed, the update is finished, and you can start using Windows 11. If you’re not satisfied with Windows 11, you can uninstall it in the settings under “System -> Recovery -> Revert.” Unfortunately, this doesn’t always work reliably, as Microsoft may remove the necessary files from the system.
Updating Windows 10 to Windows 11 24H2 without compatible hardware
If the Windows 11 Installation Wizard reports that your PC cannot be updated to Windows 11 24H2, it’s usually still possible. First, download the free Rufus tool and start it. You can also download the portable version, which doesn’t require installation—just start the program. You’ll also need a USB stick with at least 8 GB of storage (more is preferable). Connect the USB stick to the PC on which you want to install Windows 11. Note that all data on the stick will be deleted during formatting.
Start Rufus and make sure to select “Yes” when prompted about the update. The tool will then connect to the Internet, allowing you to download the Windows 11 installation files directly within Rufus. If you accidentally cancel this option, you can reconnect later in the Rufus settings (at the bottom of the window) by clicking “Check now.”
Next, select the USB stick you want to use under “Drive.” Then click “Selection” under “Start type,” followed by “Download.” Choose “Windows 11” under “Version,” and then click “Next.”
Under “Release,” select the option “24H2.” Choose “Windows 11” as the “Edition,” then select the language, choose “x64” for Architecture, and click “Download” to save the Windows 11 ISO file to a directory. Alternatively, you can download the Windows 11 ISO file outside of the tool from the Microsoft download page linked above. The download duration will depend on your internet connection.
Once Rufus has downloaded the installation files—or you’ve added the ISO manually via “Select”—click “Start.” In the new window, all options that could prevent the installation of Windows 11 will be enabled by default, along with the option to set up Windows 11 using a local user account.
Select the options you need, then click “OK.” Finally, confirm the prompt to format the USB stick.
Attention: All data on the USB stick will be erased during this process
You can then use the USB stick to update PCs running Windows 10 to Windows 11 24H2, or to reinstall Windows 11 24H2. In Windows 10, open the USB drive in Explorer and click on “Setup.exe.” The Windows 11 installation will then begin. Please note that it may take some time for the installation wizard to start. The PC will then be updated as described in the section above.
This article originally appeared on our sister publication PC-WELT and was translated and localized from German.