
There’s a great irony in the fact that the devices–like our dishwashers and washing machines–that we use to clean other items also require a clean themselves in order to do the best job. The same is true for your vacuum cleaner.
If your vacuum cleaner is losing efficiency or has started to smell stale, it’s a sign it needs some care. Here are the most common vacuum cleaner maintenance tasks: refer to your manual for details of accessing each part.
1. Clean the brush bar
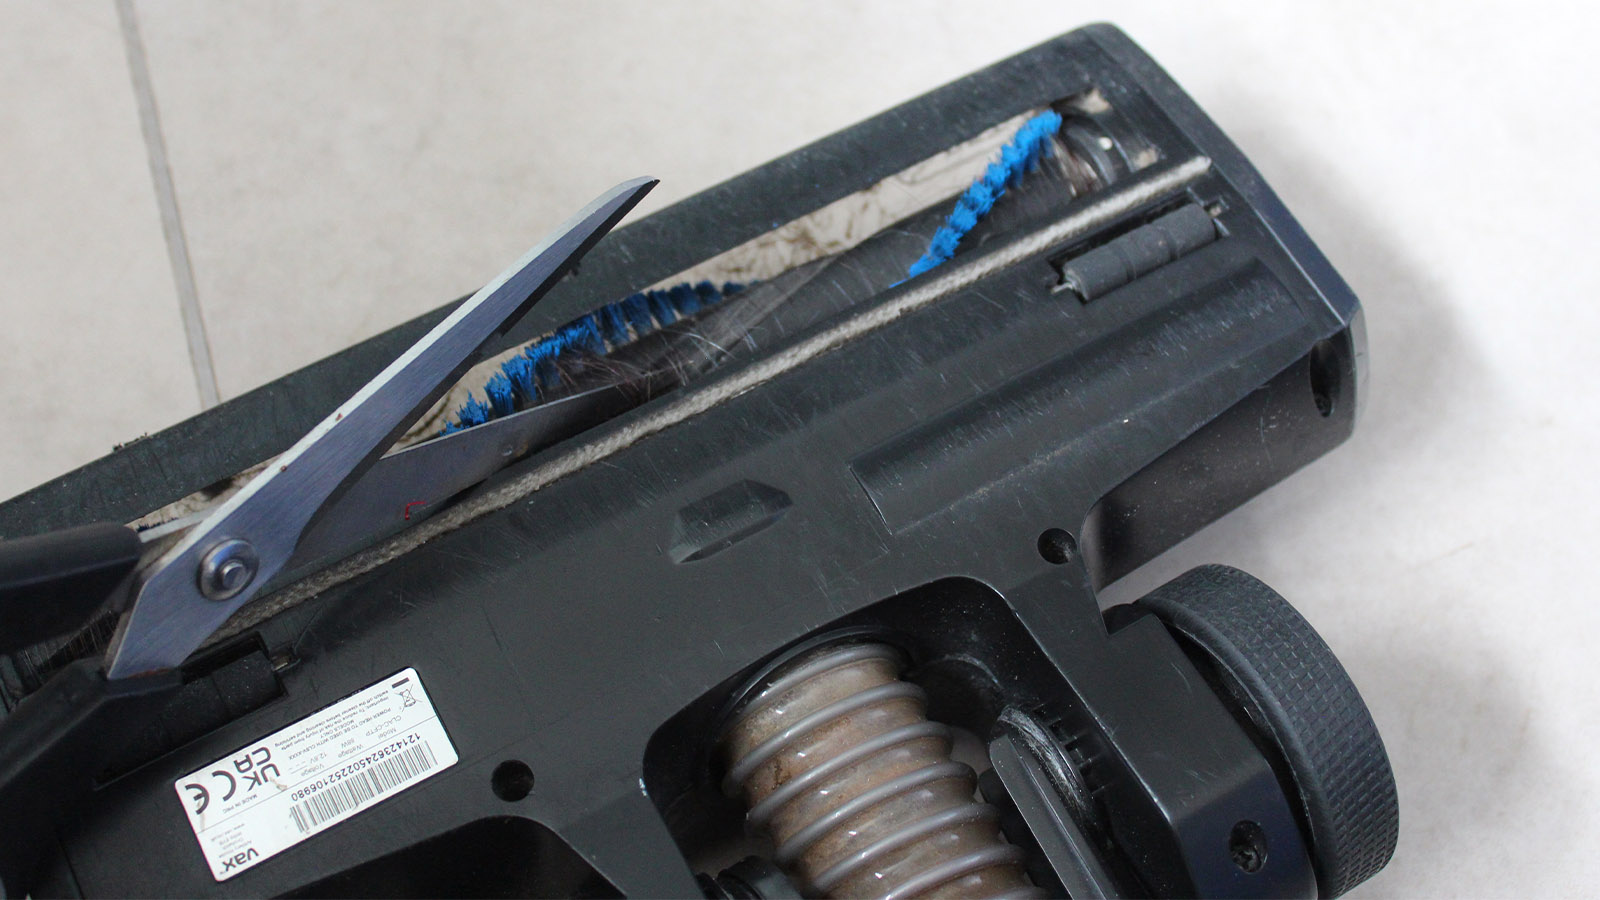
A brush bar that’s clogged with hair or fur is one that isn’t doing its job properly, making more work for you by requiring multiple passes to pick up dust and debris. In addition, a clogged brush bar puts more strain on the vacuum cleaner belt and motor, shortening their lifespans. So, keeping it clean is vital.
Rachel Ogden / Foundry
Rachel Ogden / Foundry
Rachel Ogden / Foundry
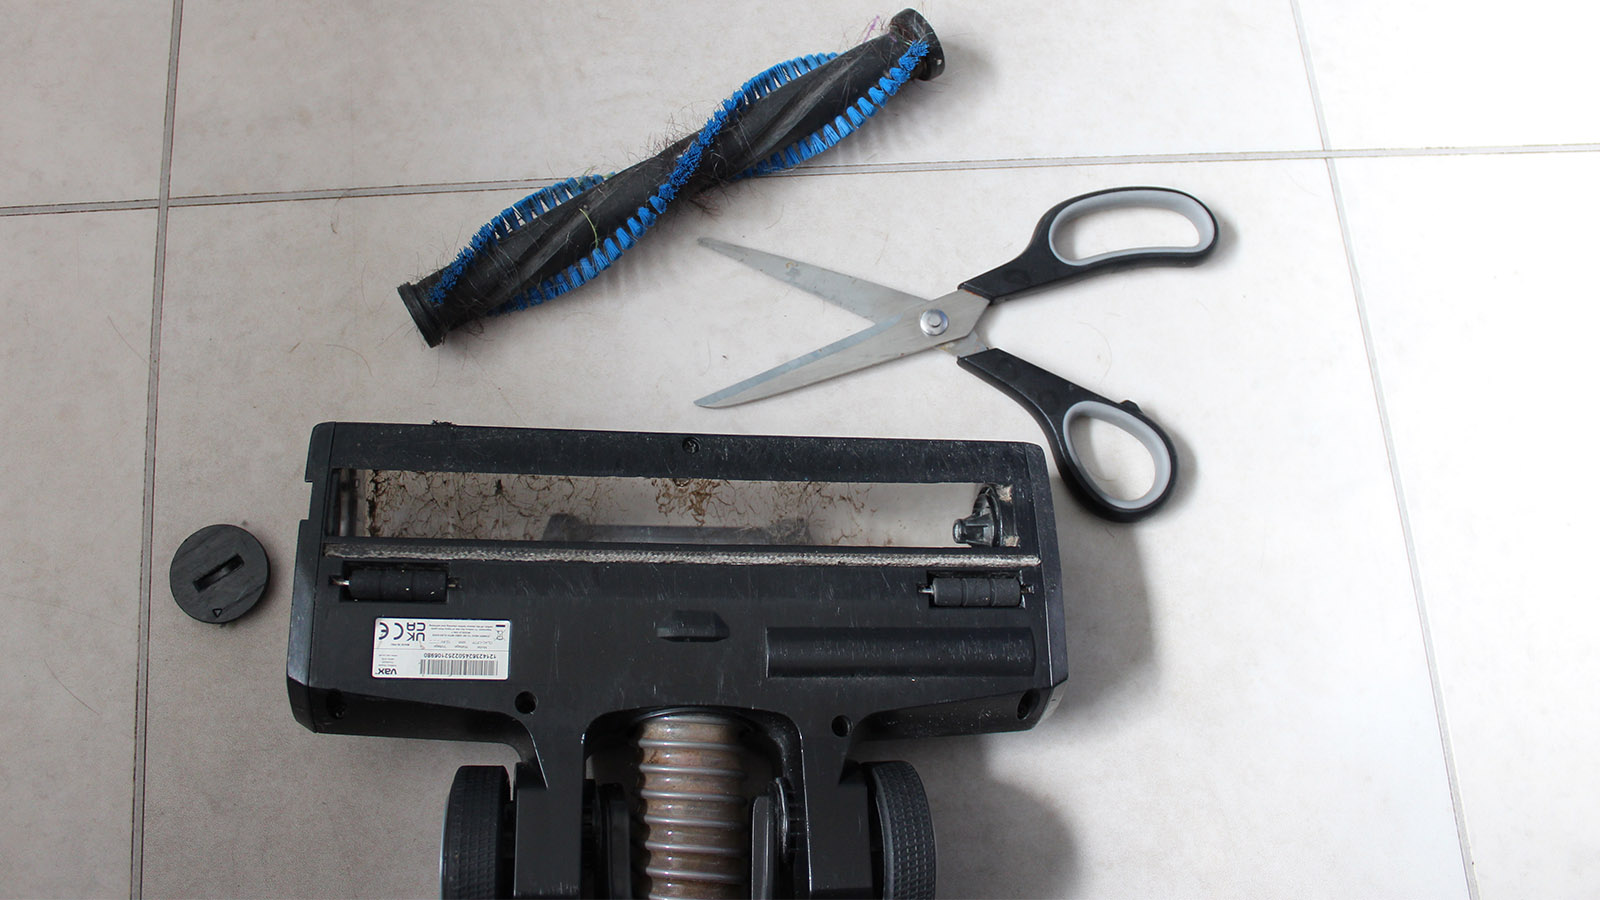
Unplug (or remove the battery), and flip your cleaner over. Using a pair of scissors, carefully snip away threads and matted hair: it’s better to do this rather than pulling them out. Make sure you don’t cut any bristles. There may be indentations running along the length of the brush bar that allow you to push the scissors along without damaging the bristles. If there’s dirt or fibers in the bristles, you can clean the bar using warm water. Make sure it’s thoroughly dry before reattaching to the vacuum cleaner.

Rachel Ogden / Foundry
Rachel Ogden / Foundry
Rachel Ogden / Foundry
If the brush bar isn’t spinning at all or is spinning very slowly even after a thorough declog, then you may need a new belt. Similarly, if bristles are damaged or badly bent, replacing the brush bar is usually more cost-effective than replacing the whole machine.
2. Washing and/or replacing filters
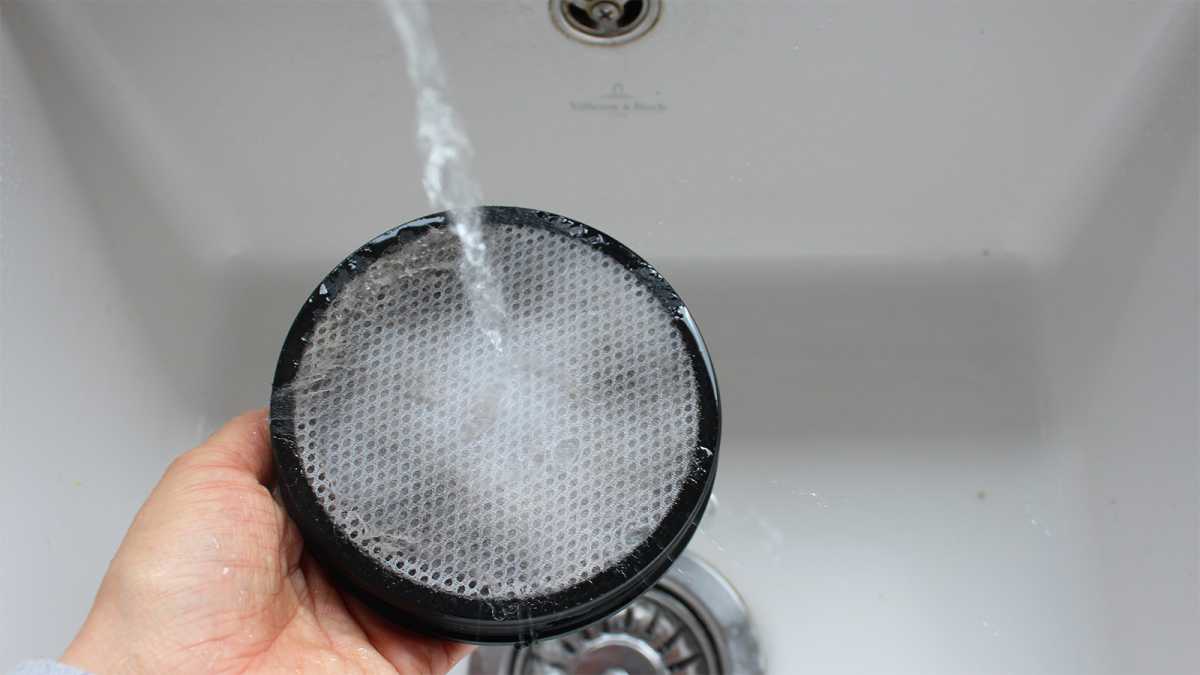
Keeping the filter clean might be a chore but it’s vital for the vacuum cleaner to pick up dust properly. Check where your vacuum’s filter is located and if it’s washable.
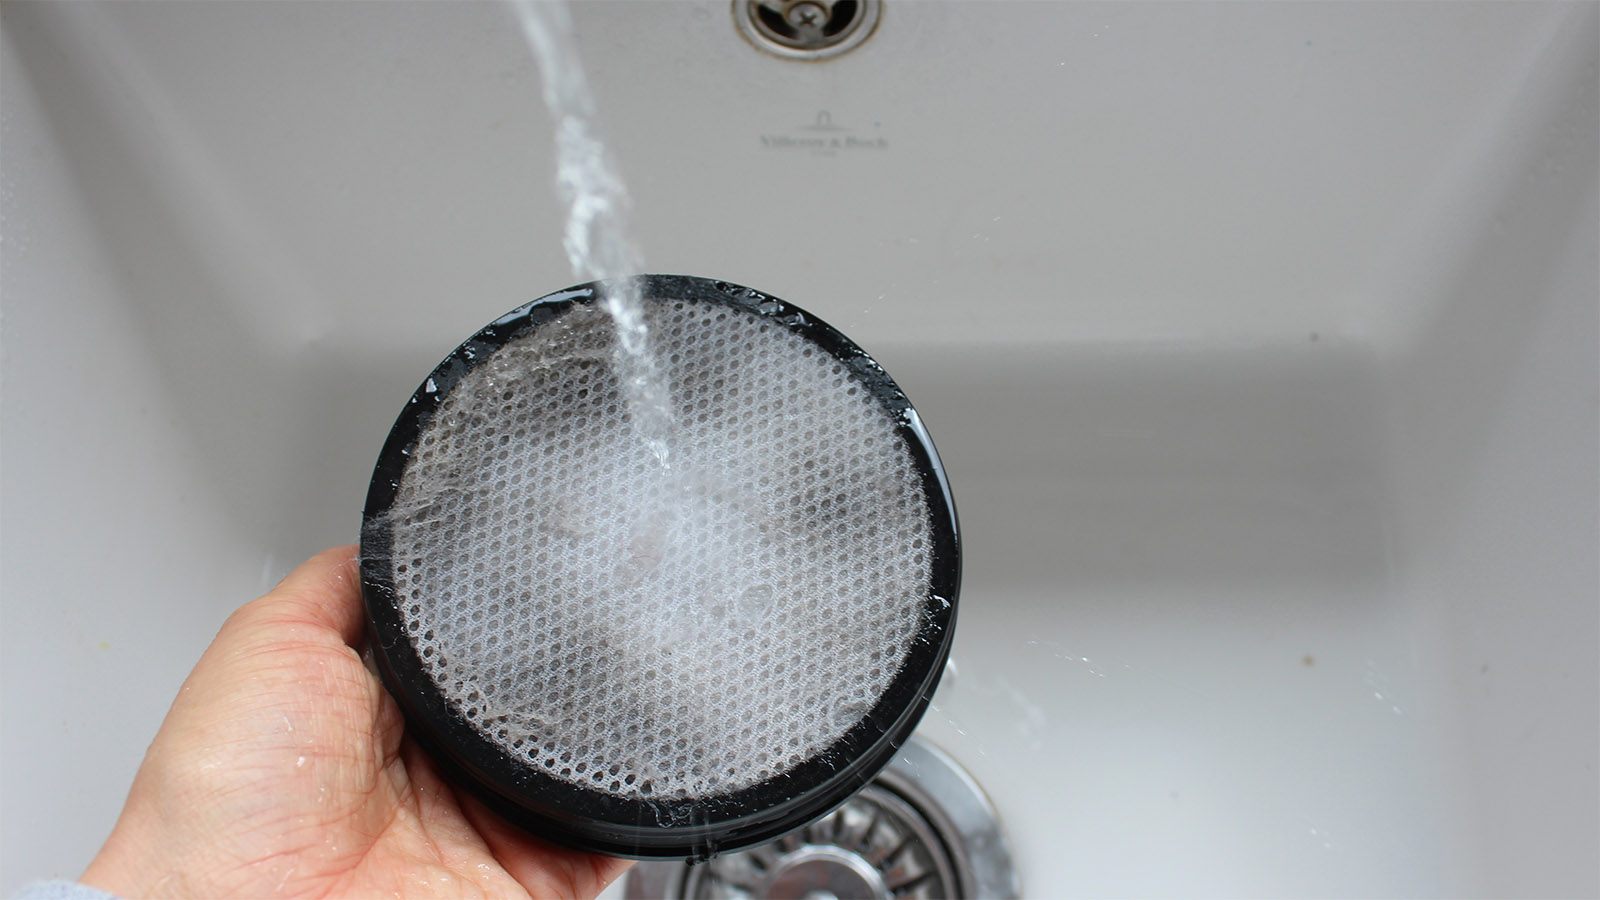
If it’s possible, take the vac outside before removing it. Tap it firmly to get rid of excess dust. Back inside, if it’s washable, run it under warm water to shift the rest of the dust and leave it to dry thoroughly before refitting.
Rachel Ogden / Foundry
Rachel Ogden / Foundry
Rachel Ogden / Foundry
For filters that aren’t washable, tap off dust outside before refitting, and replace it when the filter shows clear signs of wear. Your manual should have advice on how often to replace filters.
3. Check for clogs
If your vacuum is losing suction, one of the most likely causes is a blockage. Not only can this affect its cleaning power, it can strain the motor. Unplug or remove the battery before you tackle it, then check where the clog could be.
Culprits are usually found in the hose, but be sure to check the brush bar, attachments and the entrance to the main body of the vacuum. Even something as small as a bobby pin can cause a clog, so come armed with a flashlight to find it.


Rachel Ogden / Foundry
Rachel Ogden / Foundry
Rachel Ogden / Foundry
4. Empty it often
A full-to-bursting vacuum is an unhappy machine. It’s a good idea to change the bag of bagged models regularly, resist the temptation to reuse bags, and make sure it’s attached properly each time.
Similarly, don’t wait until bagless bins are full. Two-thirds full is a good time to empty–before you start to see a decrease in suction, but after every clean will keep your vacuum purring.
5. Wash the bin
Not emptying your vacuum often enough can cause stale smells when you use it. If an odor lingers after you’ve emptied, washing the bin should remove it. For bagged models, when unplugged, give the cavity a wipe with warm, soapy water and allow it to dry thoroughly.
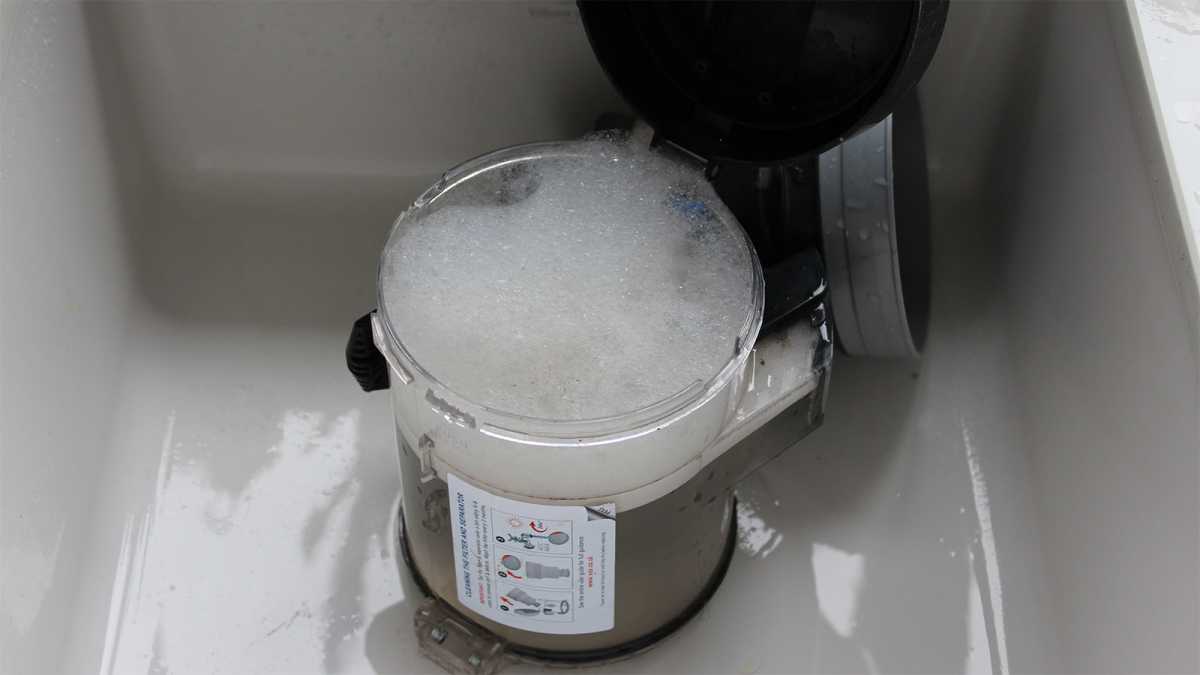

Rachel Ogden / Foundry
Rachel Ogden / Foundry
Rachel Ogden / Foundry
For bagless vacuums, detach the canister and remove any filters, then give the bin a wash and allow it to dry completely. If smells persist, wipe the parts of your vacuum cleaner with a white vinegar and water solution to disinfect. You can also try vacuuming up some baking soda from the floor.
By tackling these small cleaning jobs, your vacuum should not only run for longer, but your floors will also be easier to keep clean.
This how-to was originally published on Tech Advisor, our sibling site.