Shrine puzzles are scattered across Hyrule in The Legend of Zelda: Tears of the Kingdom. One of those puzzles is the “Bridging the Sands” puzzle found in the Kudanisar Shrine, which is located in the northern part of the Gerudo Desert near Karusa Valley. Here’s how to solve the Shrine puzzle.
How to solve the Kudnaniser Shrine puzzle in The Legend of Zelda: Tears of the Kingdom
This Shrine features a massive room, filled with moving sand. Moving in the sand will quickly drain your stamina bar, so you will want to try and avoid that as much as possible. The main shrine exit is straight ahead from the starting point, in the middle of the leftmost wall. On the opposite side of the room is another platform with some Zonai enemies on it and a smaller platform with a single Zonai enemy on it, where the optional chest is located.
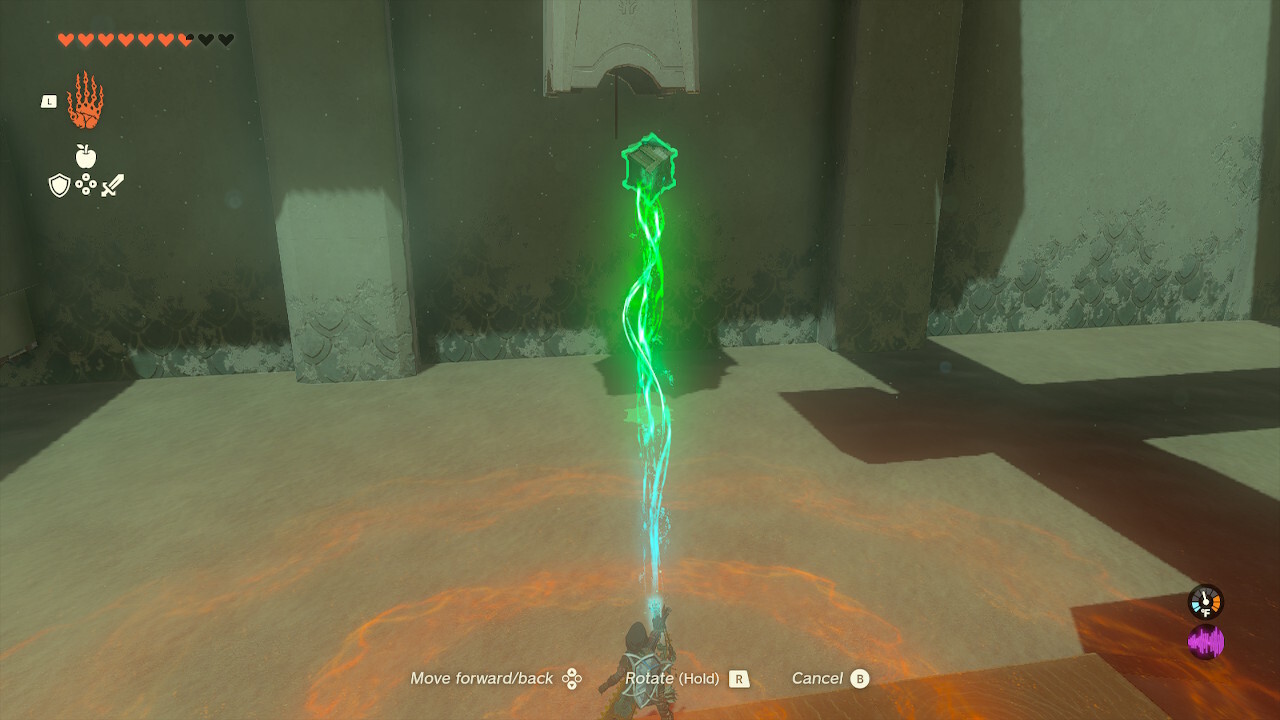
The first step is getting out of the fenced area you start in. There is a wooden plank standing straight up in the sand at the bottom of the stairs. There are two more planks moving across the sand, respawning whenever they go underneath the wall. Using a combination of Ultrahand and Recall, you need to get all three planks and yourself to the stone platform across from the stairs. Once here, connect all three planks end-to-end to create a big bridge, which you can lean against the fence to exit this section.

There is another sandy section with a plank standing vertically in the sand. Behind the plank is an enemy, so be careful. From here, you need to cross straight ahead to the ladder, so you can jump down to some Zonai devices that let you drive across the sand. The quickest way across is to use the same bridge you already built.

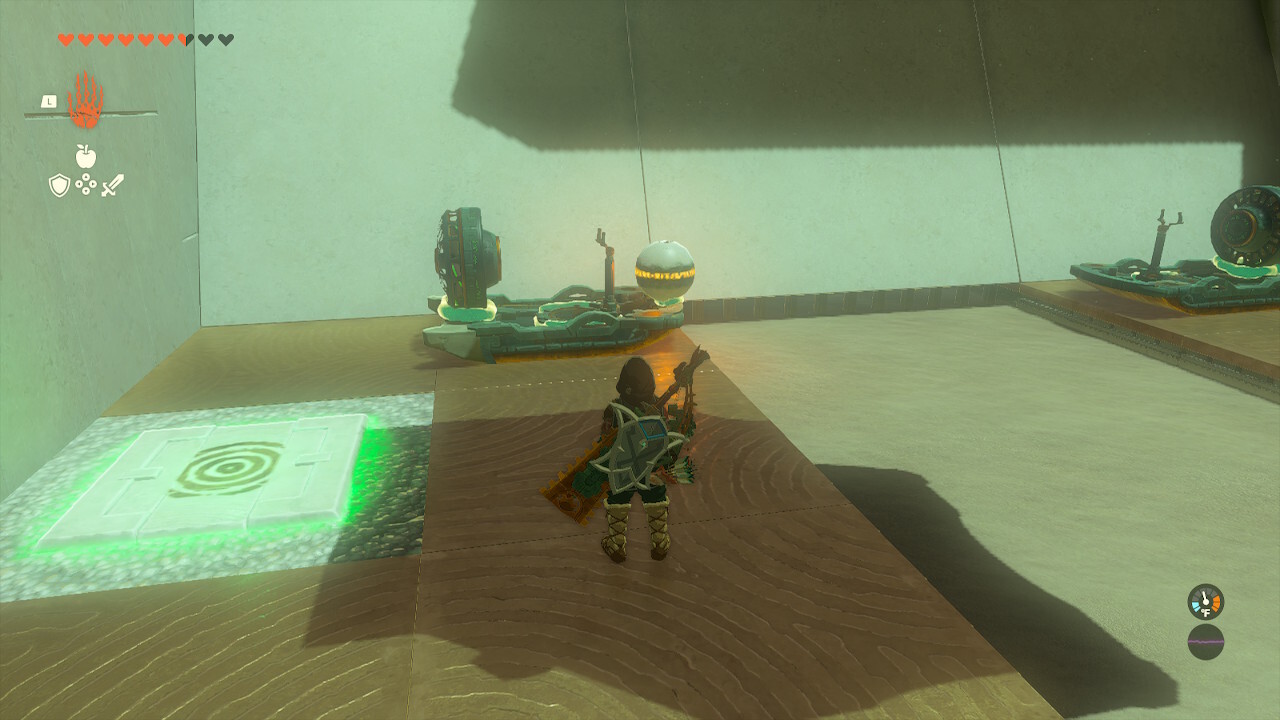
Climb up the ladder, where you will find the locked door to the Shrine exit. There is a spot in the ground for a small ball and a button. Step on the button, which will spawn the ball and launch it to the stone area across the room. You can now jump down to Zonai vehicles to navigate across the sand.
Once on, head to the back left corner of the room, where the second optional chest is located. Here, there is a hanging chest next to a small platform. Stand on the platform, shoot the rope and use Ultrahand to grab the chest and bring it to yourself.

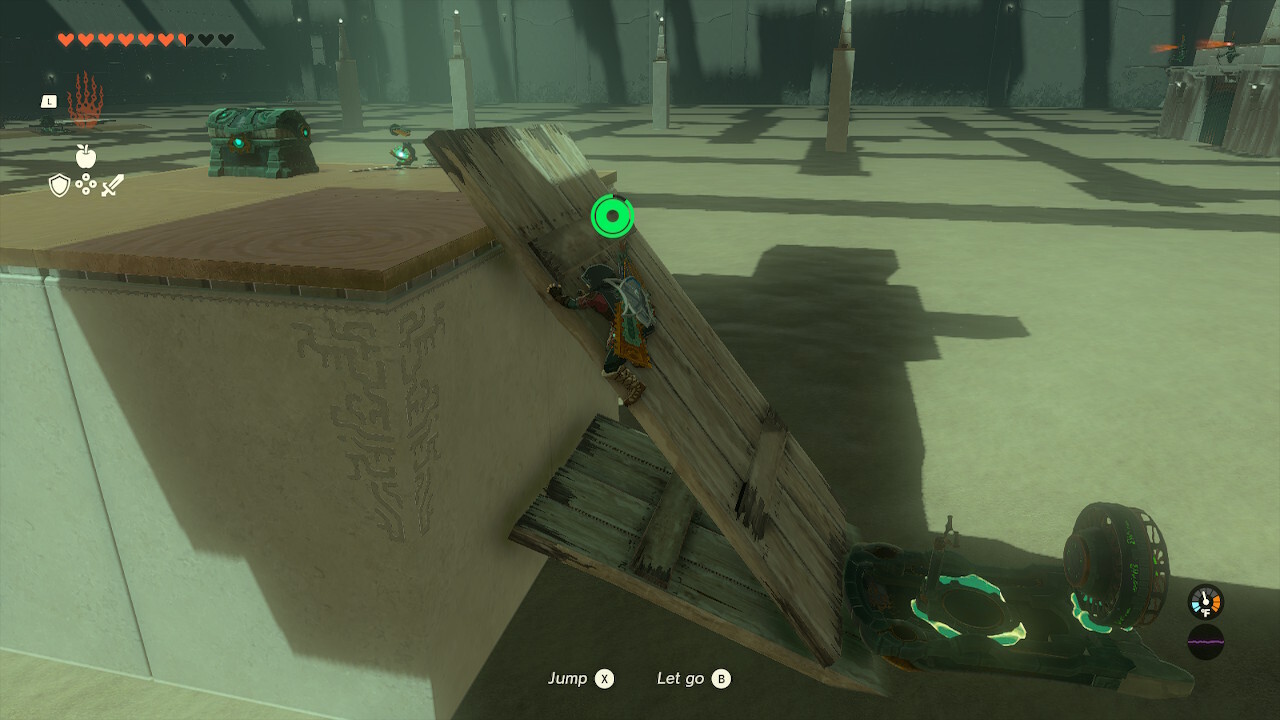
Next, head diagonally across the room, where the first optional chest is located on a small platform with a single enemy. Park your vehicle on the far side of the block, so the flowing sand pushes it towards the block, so you don’t lose your ride. Use one of the nearby planks to create a ramp to reach the chest.

Now you can head to the area where the small ball was shot, which is guarded by two Zonai enemies. To enter this area, park the vehicle on the side of the building, which is underneath a small overhang, which you can Ascend up through.
Don’t worry about your vehicle, there are more inside this area. Take down the Zonai and enter the middle area. The ball will be pushed up against a gate, which can be opened by a button. Grab the ball with Ultrahand and fuse it to one of the vehicles and hit the button to open the door.

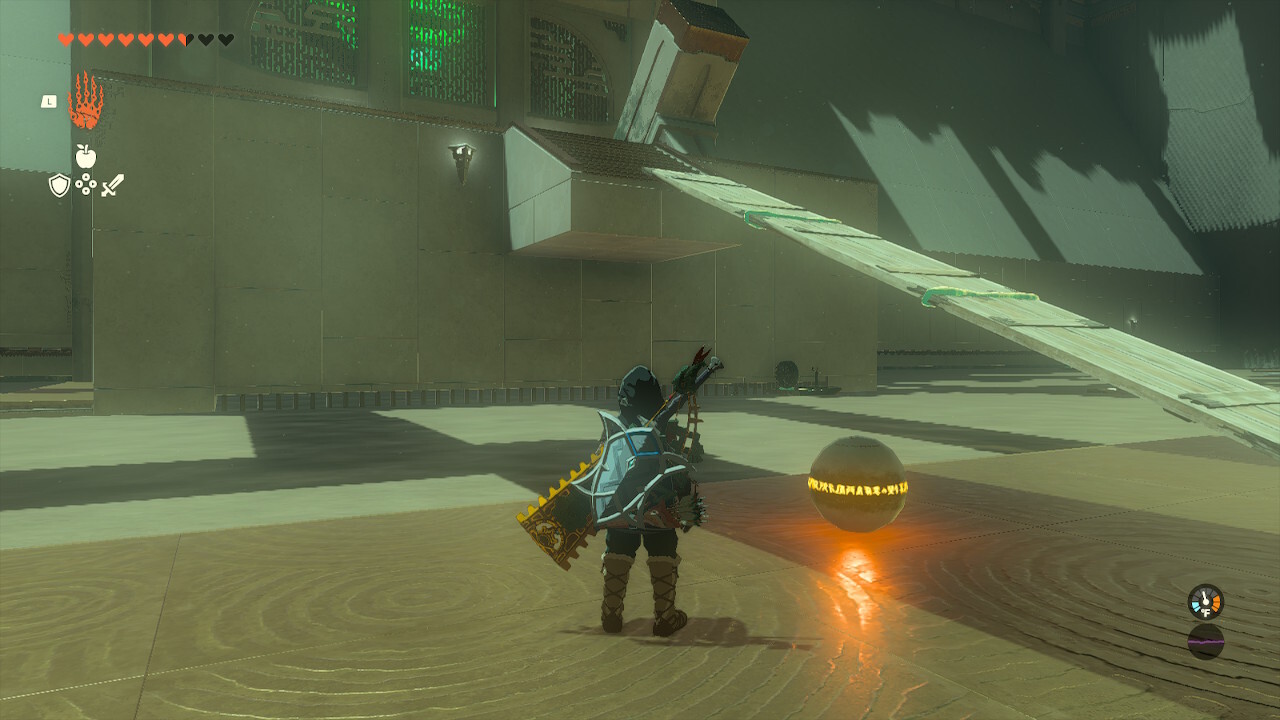
Drive directly across the sand, back to the Shrine exit door. Park at the small platform where you originally grabbed the Zonai vehicle. You will need to fuse three wooden planks together, which can be found on the platform, to create a bridge up to the door, so you can walk the ball up there.

Drop the ball into the hole, unlocking the door and completing the Shrine. We have many more guides in our Tears of the Kingdom guides hub, including a map of all Shrine locations and many more individual Shrine puzzle guides.
The products discussed here were independently chosen by our editors.
GameSpot may get a share of the revenue if you buy anything featured on our site.

